Setup Java Remote Debug
Java Remote Debug is JVM feature that allow developer to debug application over the network. I found this feature while working on my last workplace. This feature is very handy, especially in testing phase. When bug is found by the tester, developer can just connect to debugger over the network. This can shorten the “reproduce bug” phase and allow interactive debugging session between developer and tester. Though, the feature is already up and running while I was there. Thats why in this post I will try to set this up by myself.
Setup Kubernetes
I will use kubernetes to deploy the application. Since I am on Ubuntu, microk8s is reasonable choice. Microk8s is kubernetes distribution by Canonical, maker of Ubuntu. Microk8s is distributed using snapd. Snapd is already installed on Ubuntu since version 16.04. Go to https://microk8s.io/ to learn more about Microk8s.
Install microk8s:
sudo snap install microk8s --classic
Setup microk8s permission:
sudo usermod -a -G microk8s $USER
mkdir -p ~/.kube
sudo chown -R $USER ~/.kube
Restart!
Check installation:
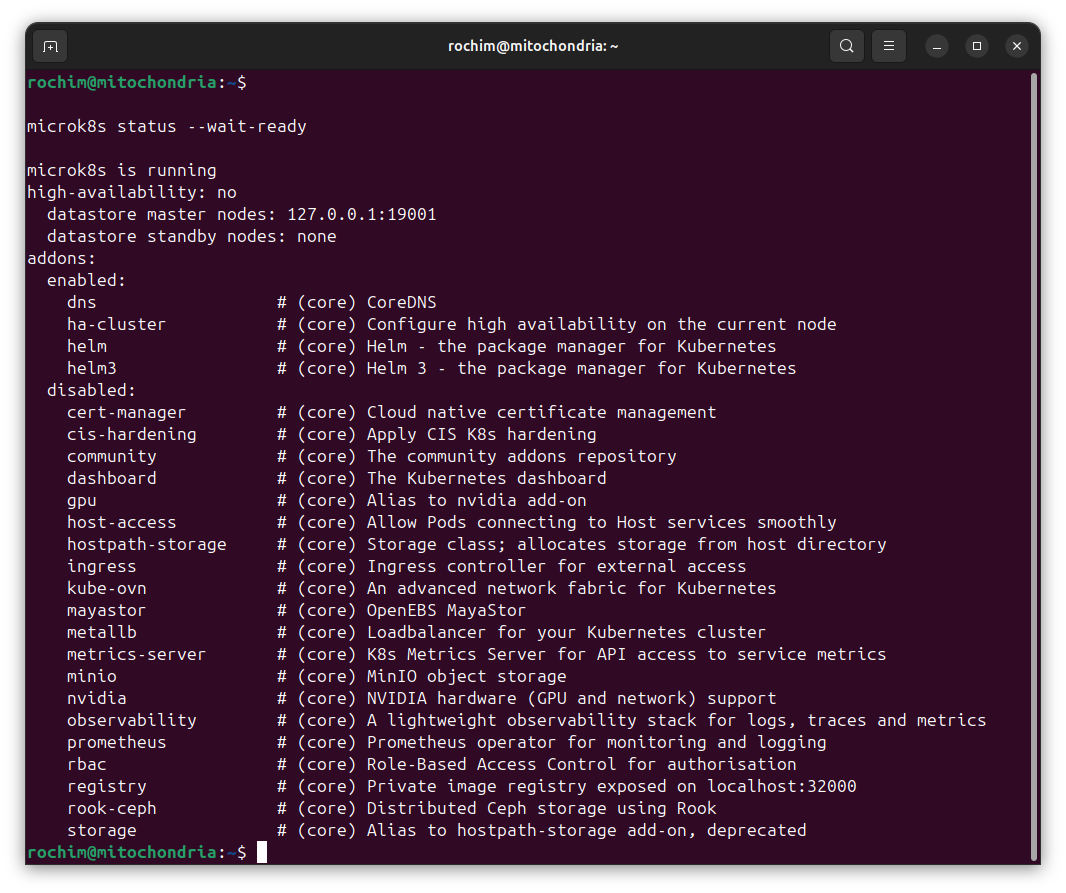
microk8s status --wait-ready
The microk8s should be running.
Microk8s have feature called addons. Addons is prepackage component or container that can be installed easily using microk8s command line. I think I will need helm, dashboard, registry, and ingress.
- Helm is package manager for kubernetes. Helm can simplify the deployment process and manifest generation. Read more at https://helm.sh/. Helm is preinstalled on microk8s.
- Dashboard is addon to install kubernetes dashboard, web ui for kubernetes. Read more at https://github.com/kubernetes/dashboard.
- Registry is addon to install local image registry for hosting docker image.
- Ingress is one of multiple way to expose your application. Ingress addon will install simple nginx based ingress.
Install addon using microk8s enable:
microk8s enable dashboard
microk8s enable registry
microk8s enable ingress
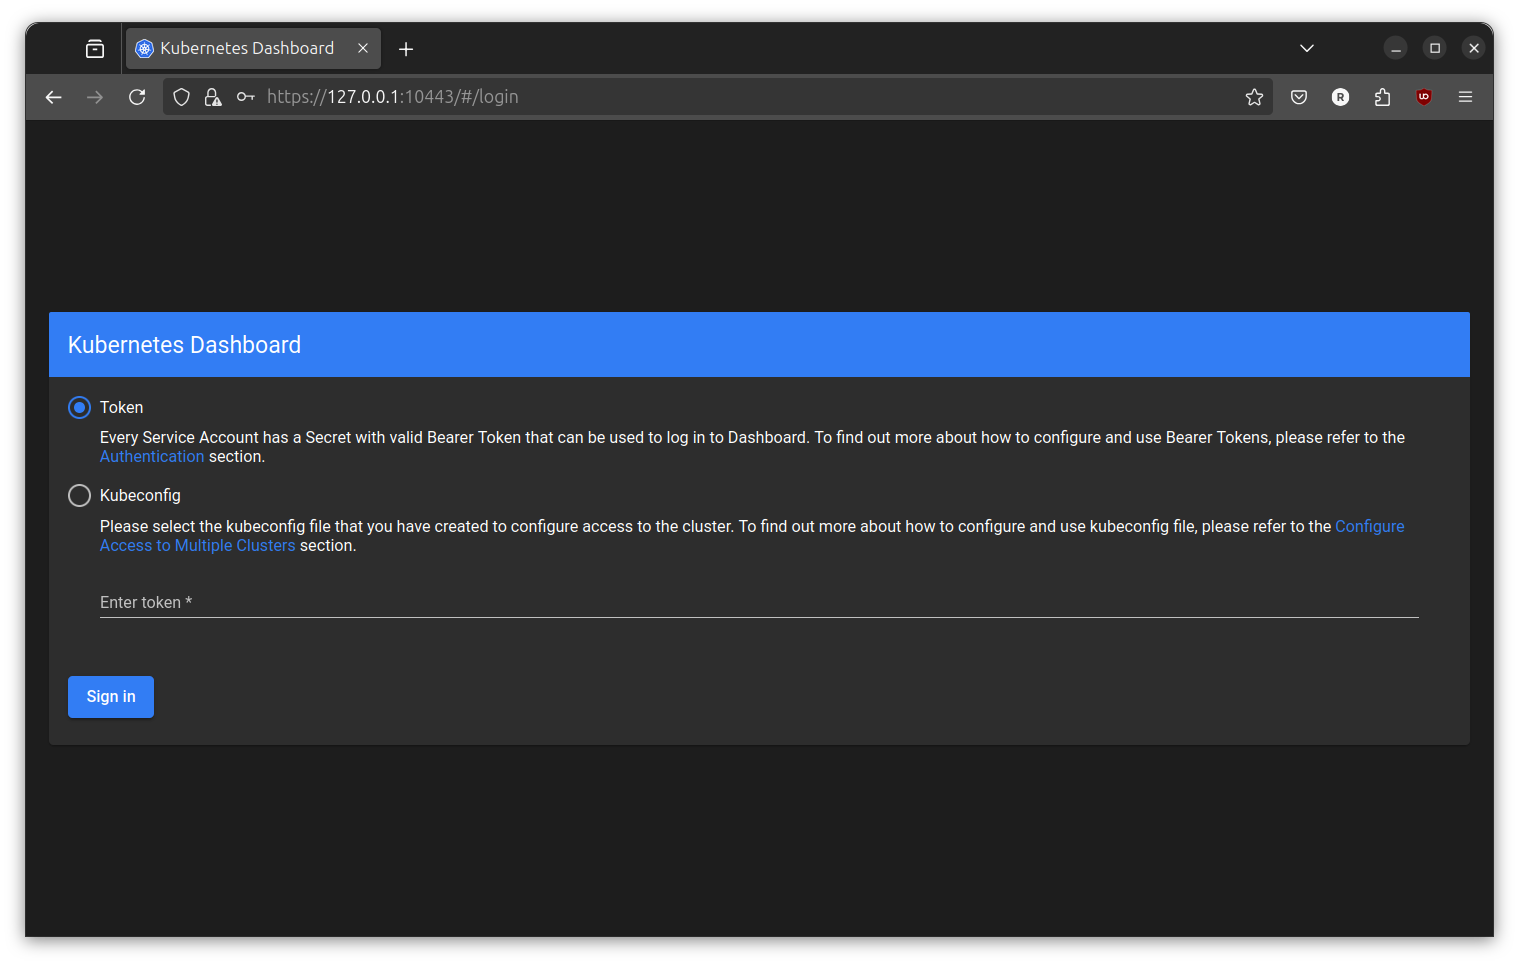
Accessing dashboard:
microk8s dashboard-proxy
Copy the printed token and go to the link printed in terminal. Paste the token in the provided field and sign in.
There will be certificate warning at first time accessing the dashboard. It is expected because microk8s dashboard using self signed certificate.
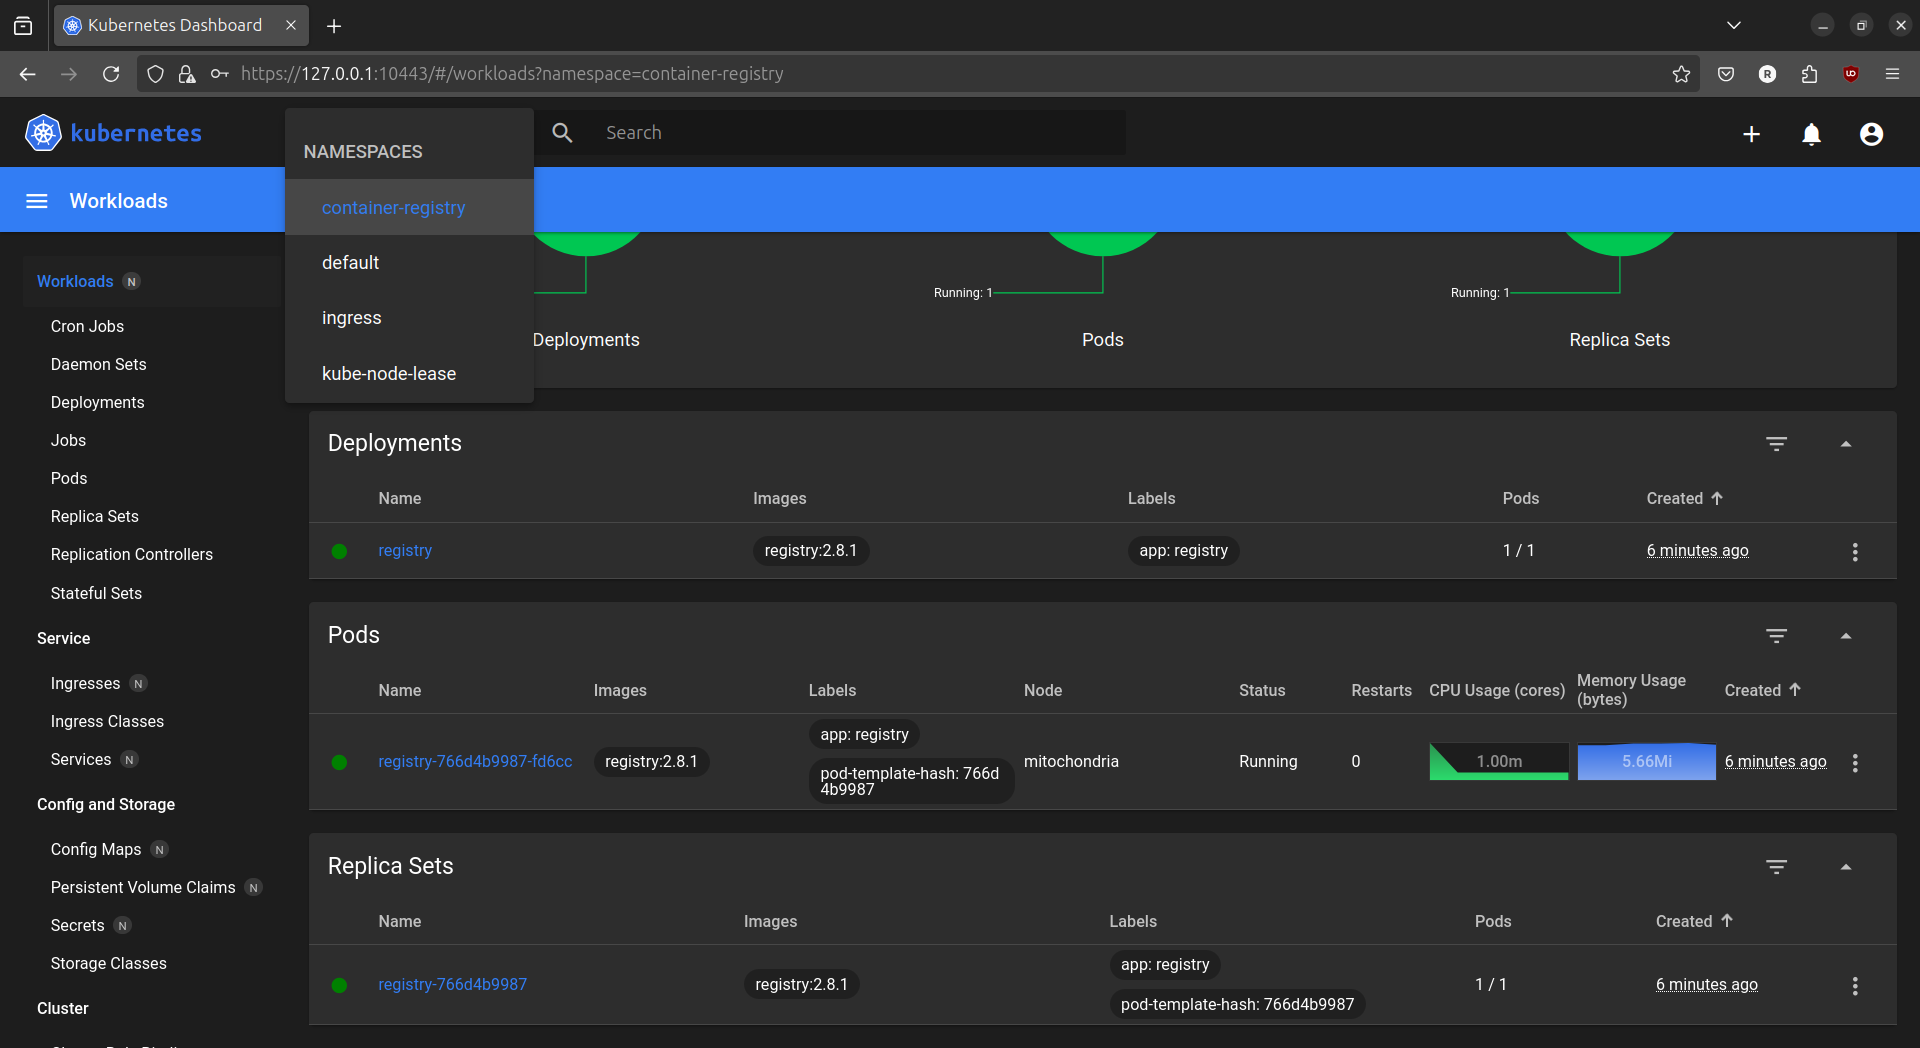
Change namespace to container-registry to check the registry deployment.
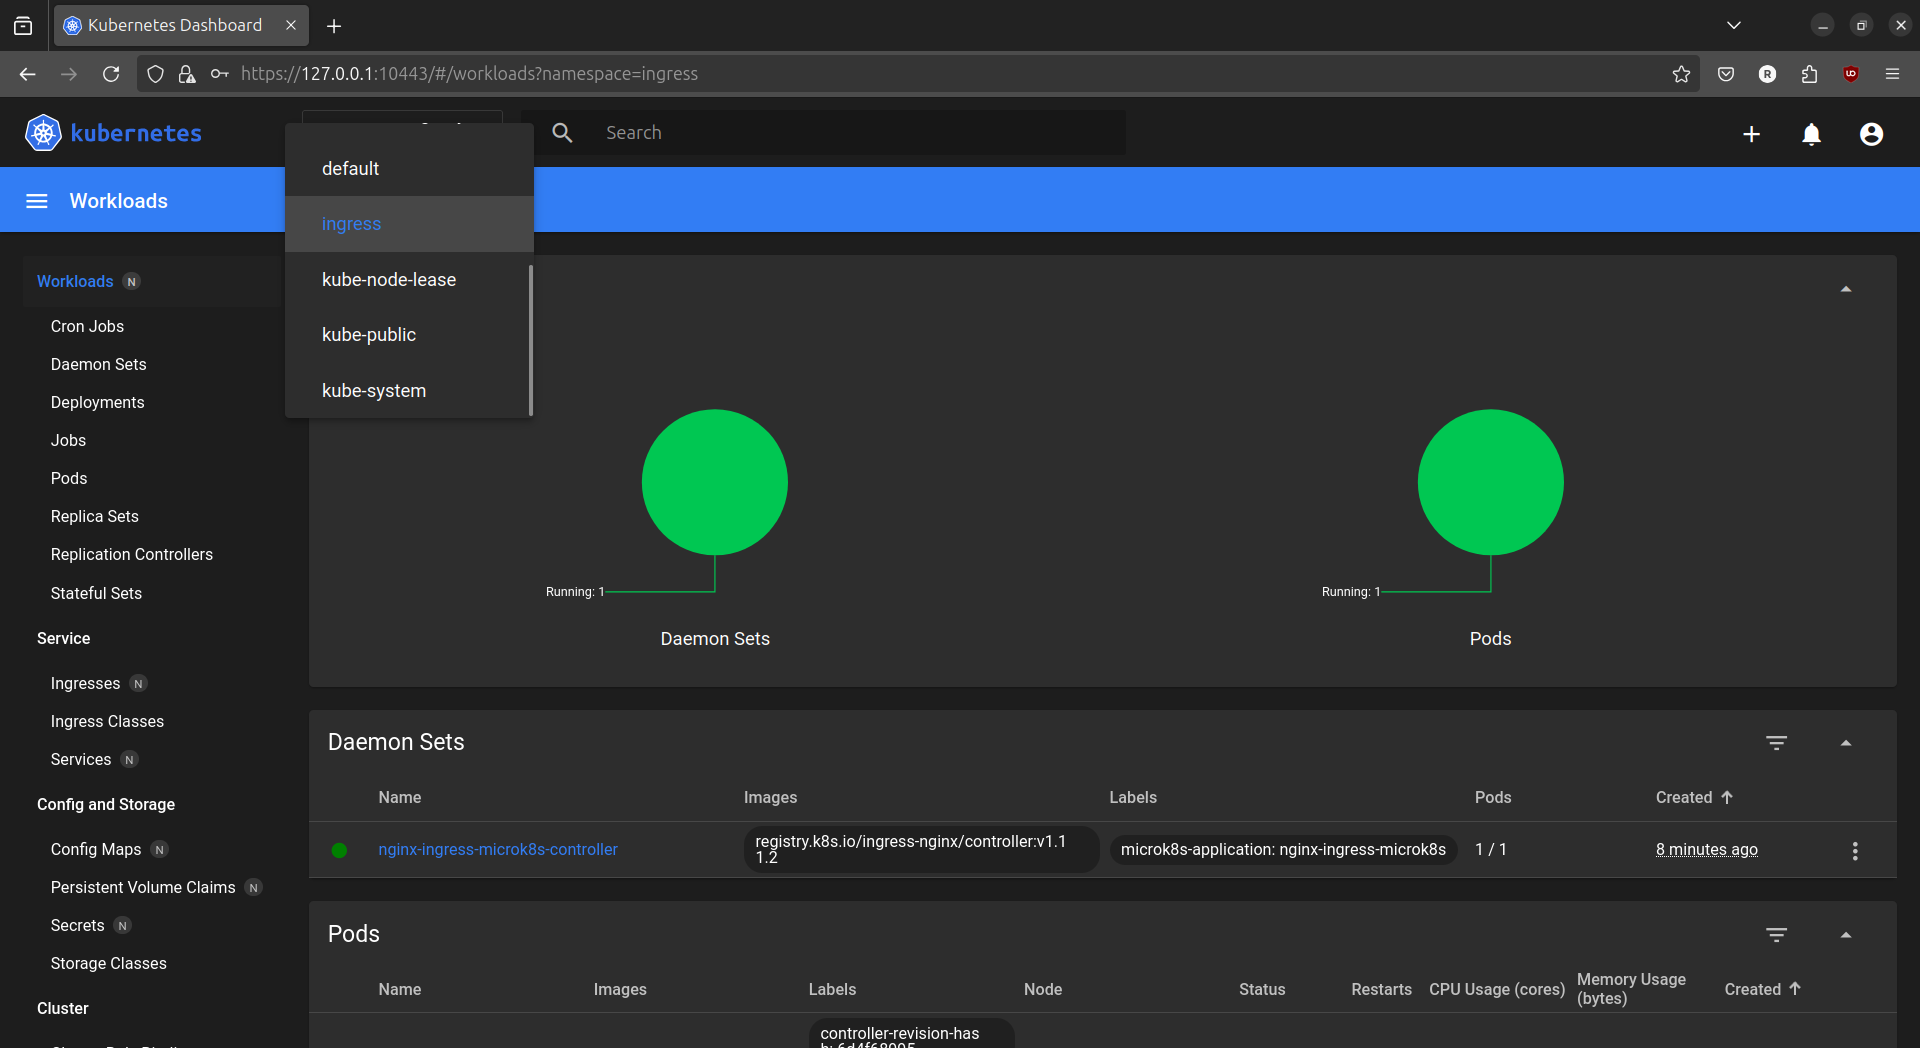
Change namespace to ingress to check the ingress deployment.
Setup Remote Debug
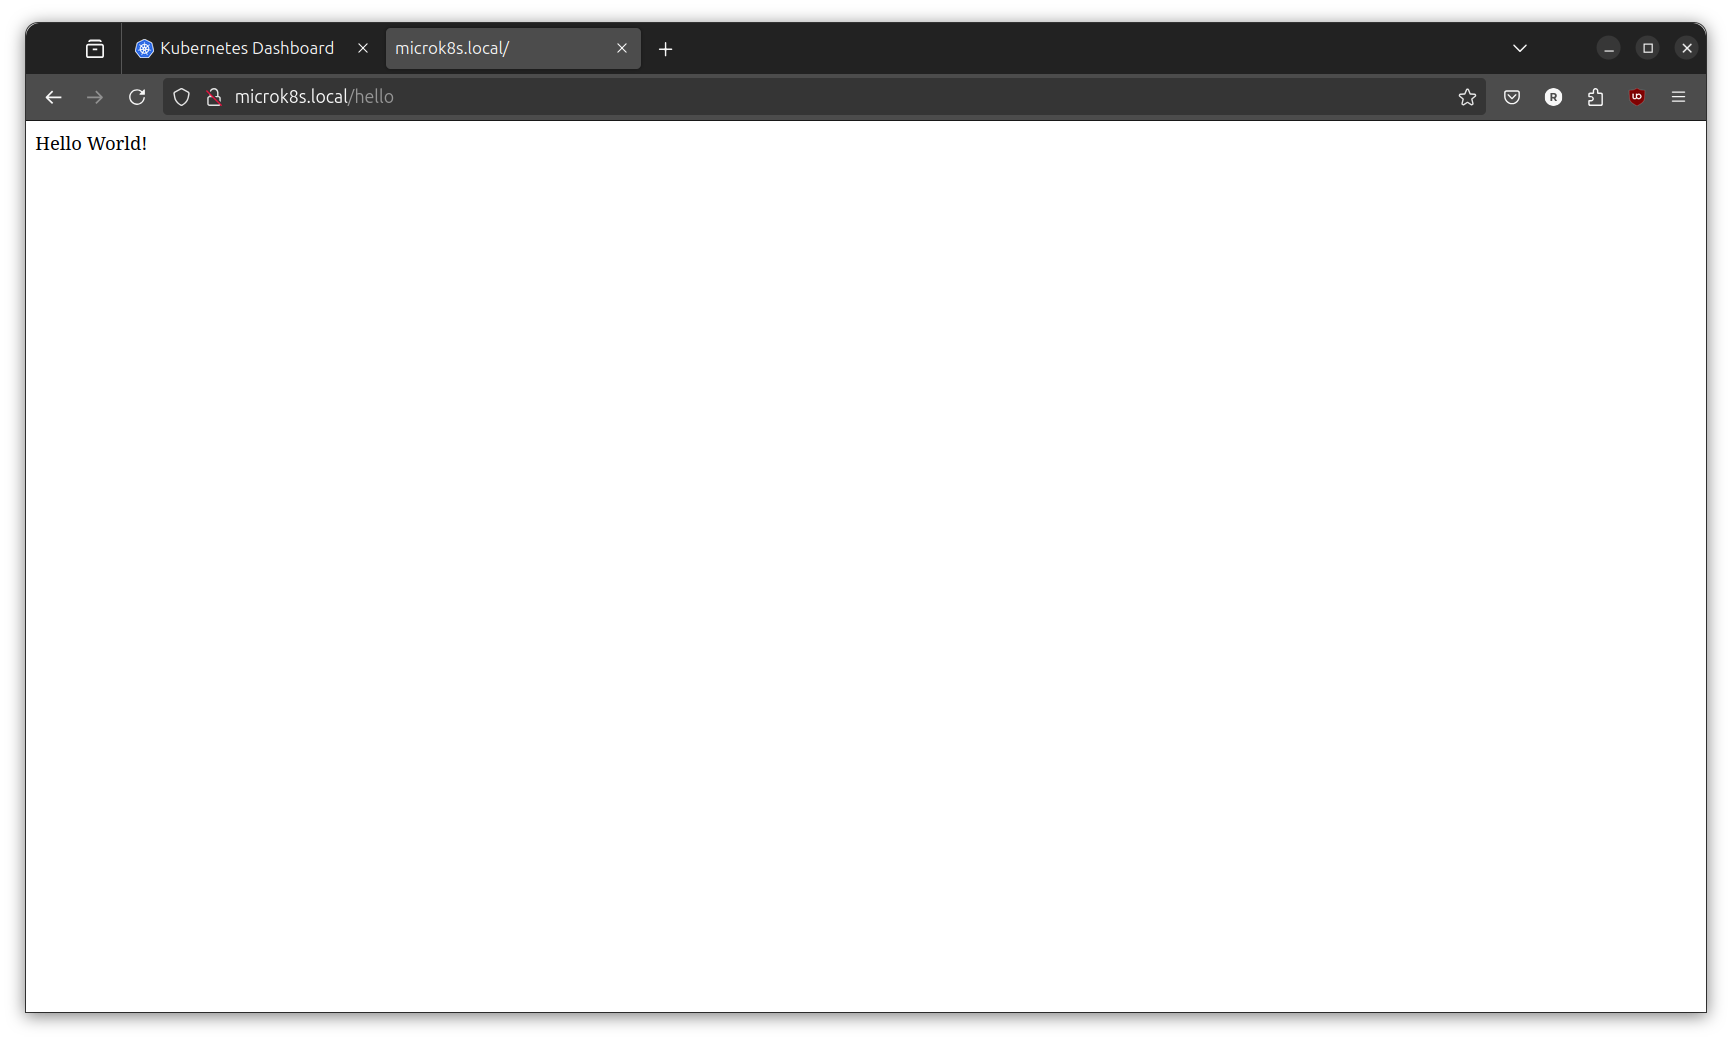
I have prepared the web service. You can find it at https://github.com/rochimfn/demo-remote-debug-java. It is written in spring boot framework. Nothing special about it. It straightly taken from spring boot quickstart guide. It only contains two endpoint “/” and “/hello”. Both will return simple text.
Get the web services:
git clone https://github.com/rochimfn/demo-remote-debug-java.git
I have added Dockerfile to build the service into docker image. And I also added helm chart configuration to easy deploy the docker image into kubernetes. The Dockerfile use scripts/entry-point.sh as entry point for the docker image. I think this is the most important part for setup remote debug. Here is the content of scripts/entry-point.sh:
#!/bin/sh

if [ "$DEBUG_MODE" = "1" ]; then
    echo "DEBUG_MODE is active"
    java -Xdebug -Xrunjdwp:transport=dt_socket,address=8888,server=y,suspend=n -jar demo-0.0.1-SNAPSHOT.jar
else
    echo "DEBUG_MODE is inactive"
    java -jar demo-0.0.1-SNAPSHOT.jar
fi
First, I check the DEBUG_MODE environment variable. If the DEBUG_MODE is unset or have value other than “1”, I will run the service (already packaged as jar) without any flag.
java -jar demo-0.0.1-SNAPSHOT.jar
But, when the DEBUG_MODE is set with value “1”, I will run the service with debugging flag enable.
-Xdebug -Xrunjdwp:transport=dt_socket,address=8888,server=y,suspend=n
The flag is taken from old oracle documentation with little adjustment. Basically, the flag is instruct the jvm to enable debugging over network at port 8888. suspend=n instruct the jvm to run the application as is without waiting for debugger to attach to the jvm.
While reading another references, I found that the debug flag is already deprecated. The flag is still working on jre 17. But adjustment may needed if run with another version.
Lets deploy the services into kubernetes. Allow execute on helper script:
cd demo-remote-debug-java
chmod +x scripts/*.sh
Build the docker image:
./scripts/docker-build.sh
Push the image into microk8s private registry:
./scripts/push-image.sh
Deploy the services to microk8s:
./scripts/helm-install.sh
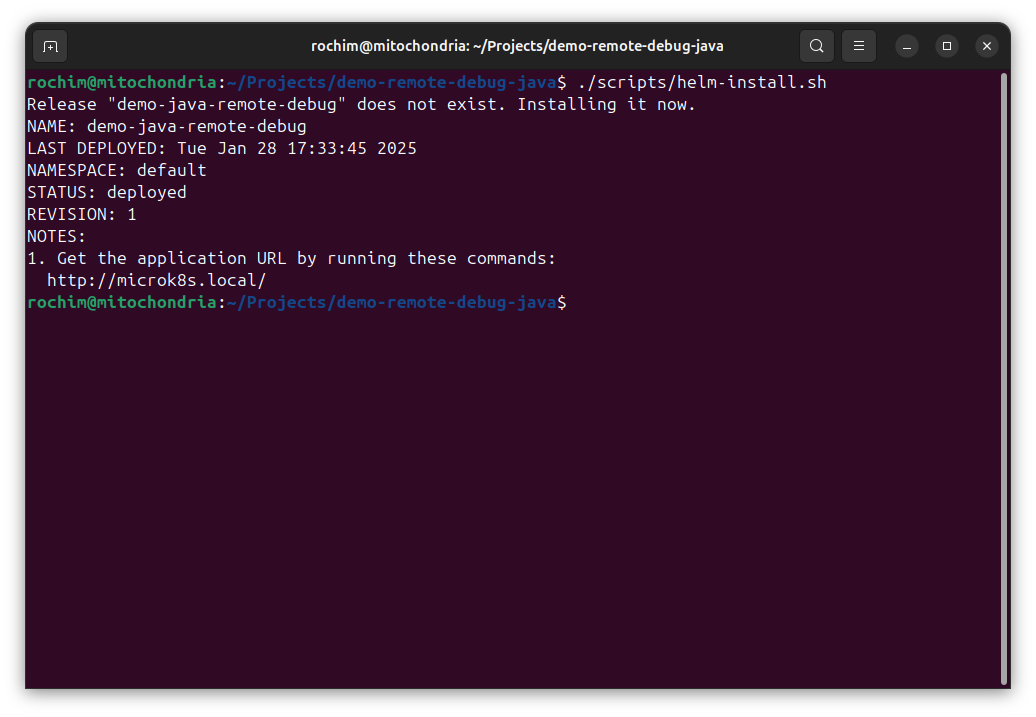
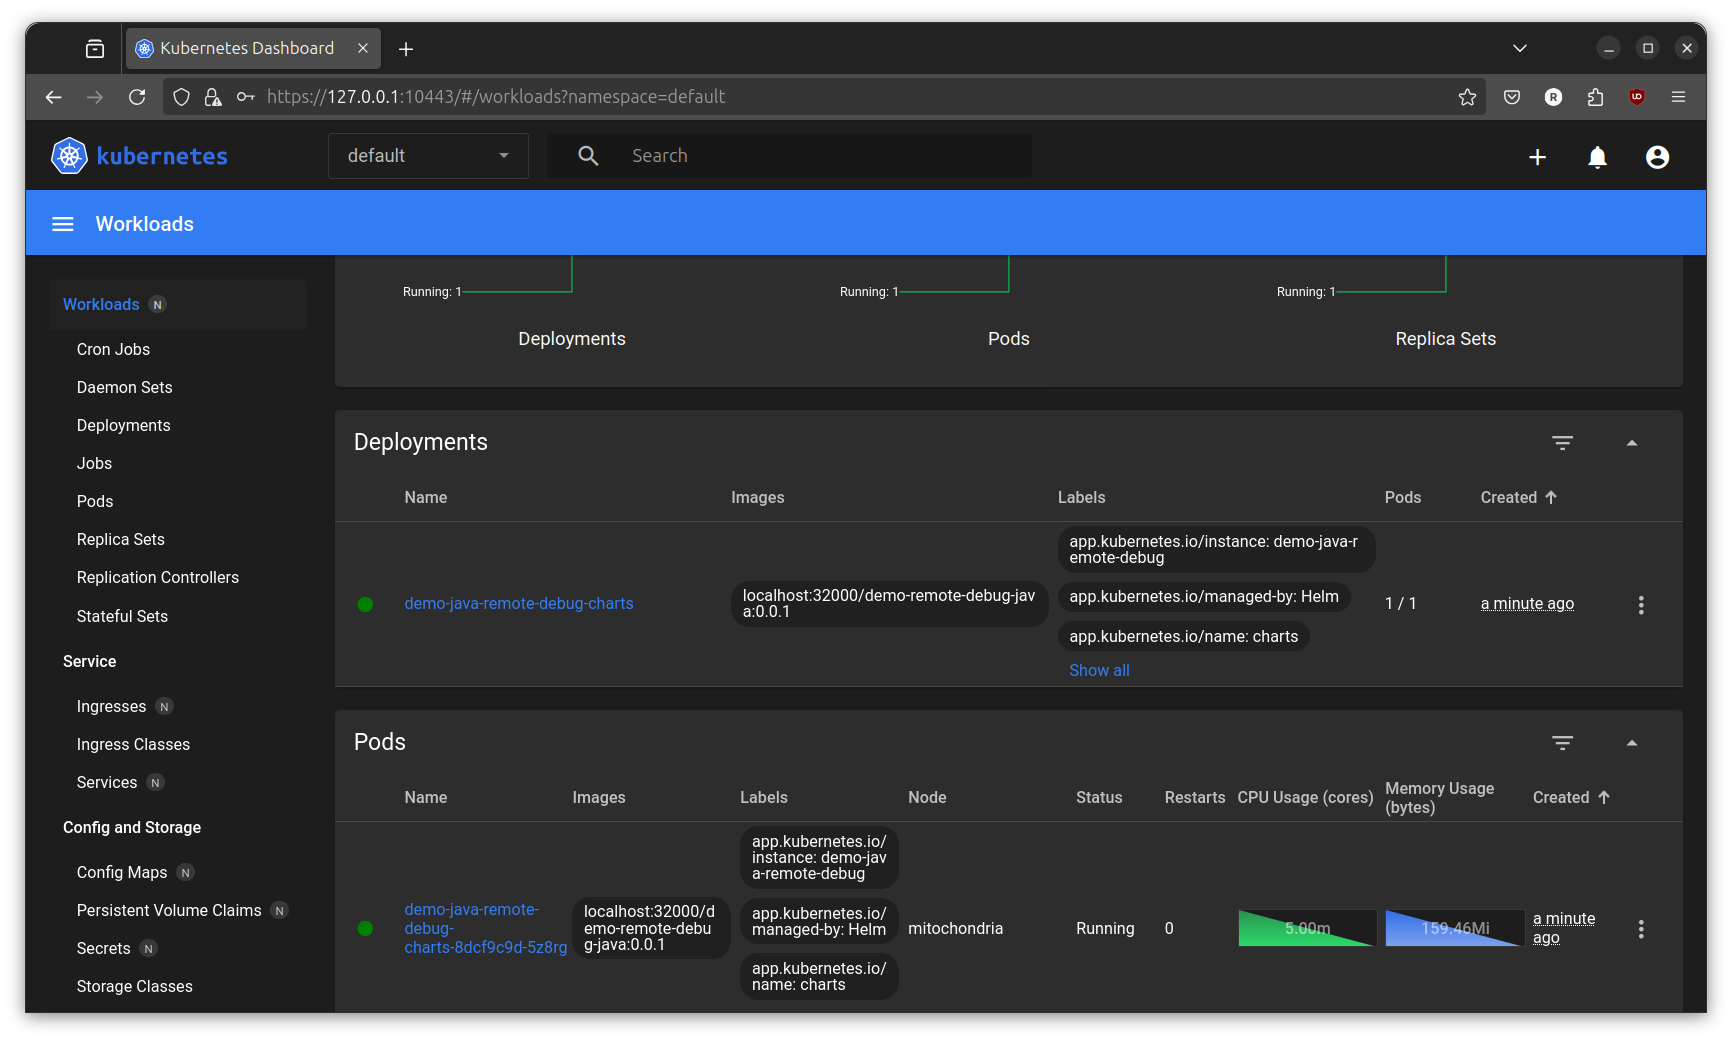
Go to the kubernetes dashboard to check the status of deployment.
Register the hostname entry into the /etc/hosts to be able to access the services through ingress. Edit the /etc/hosts:
sudo vim /etc/hosts
Register the hostname:
127.0.0.1 microk8s.local
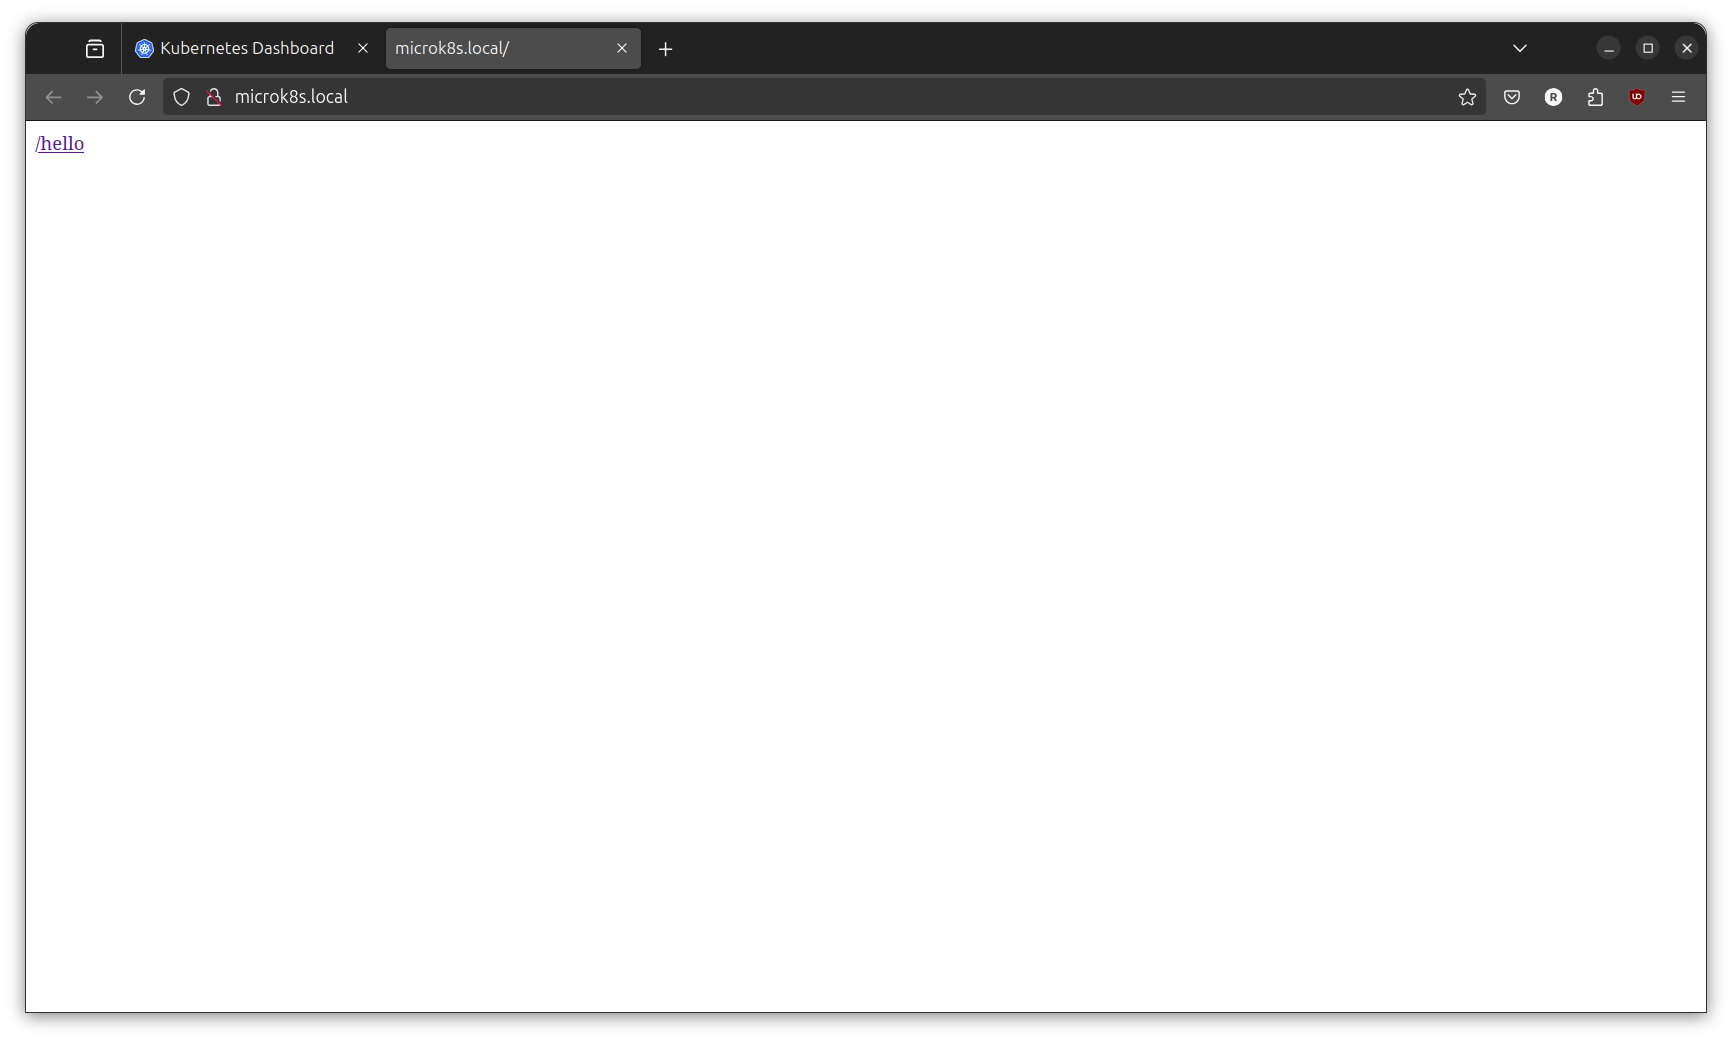
Go to http://microk8s.local and the service should be up.
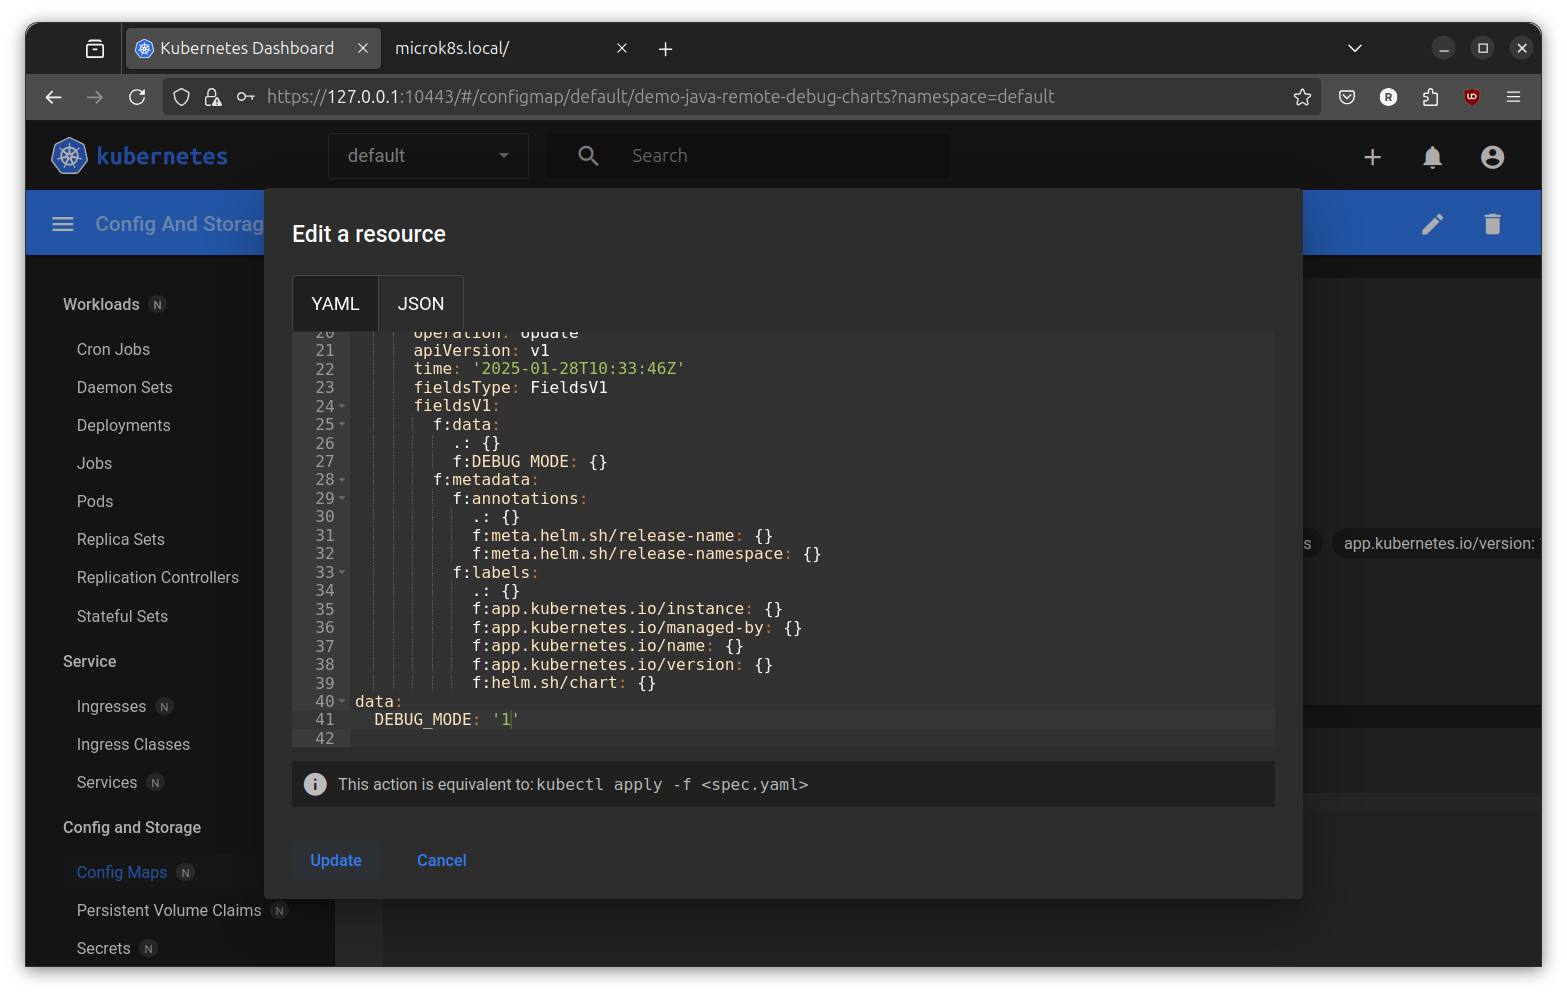
By default the remote debugging is disabled (DEBUG_MODE != “1”). To enable it, go to Config Maps menu and choose demo-java-remote-debug-charts.

Edit the configmap by clicking edit button (pencil). And change the value of DEBUG_MODE to 1.
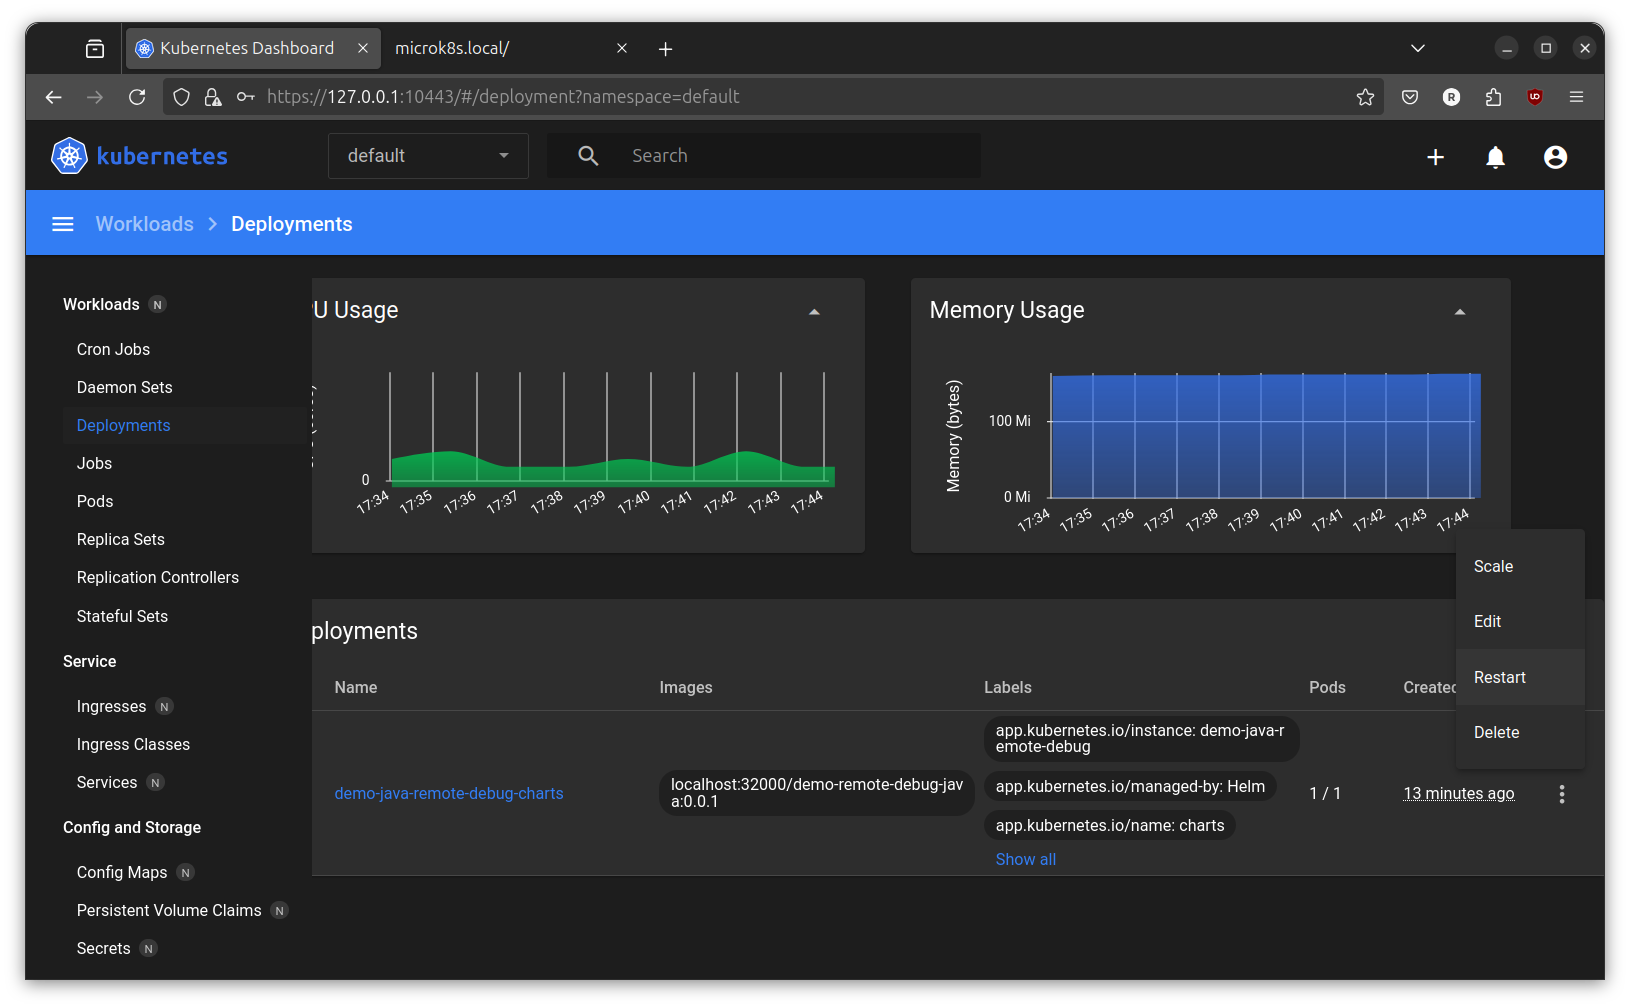
Go to Deployment menu and restart the demo-java-remote-debug-charts deployment.
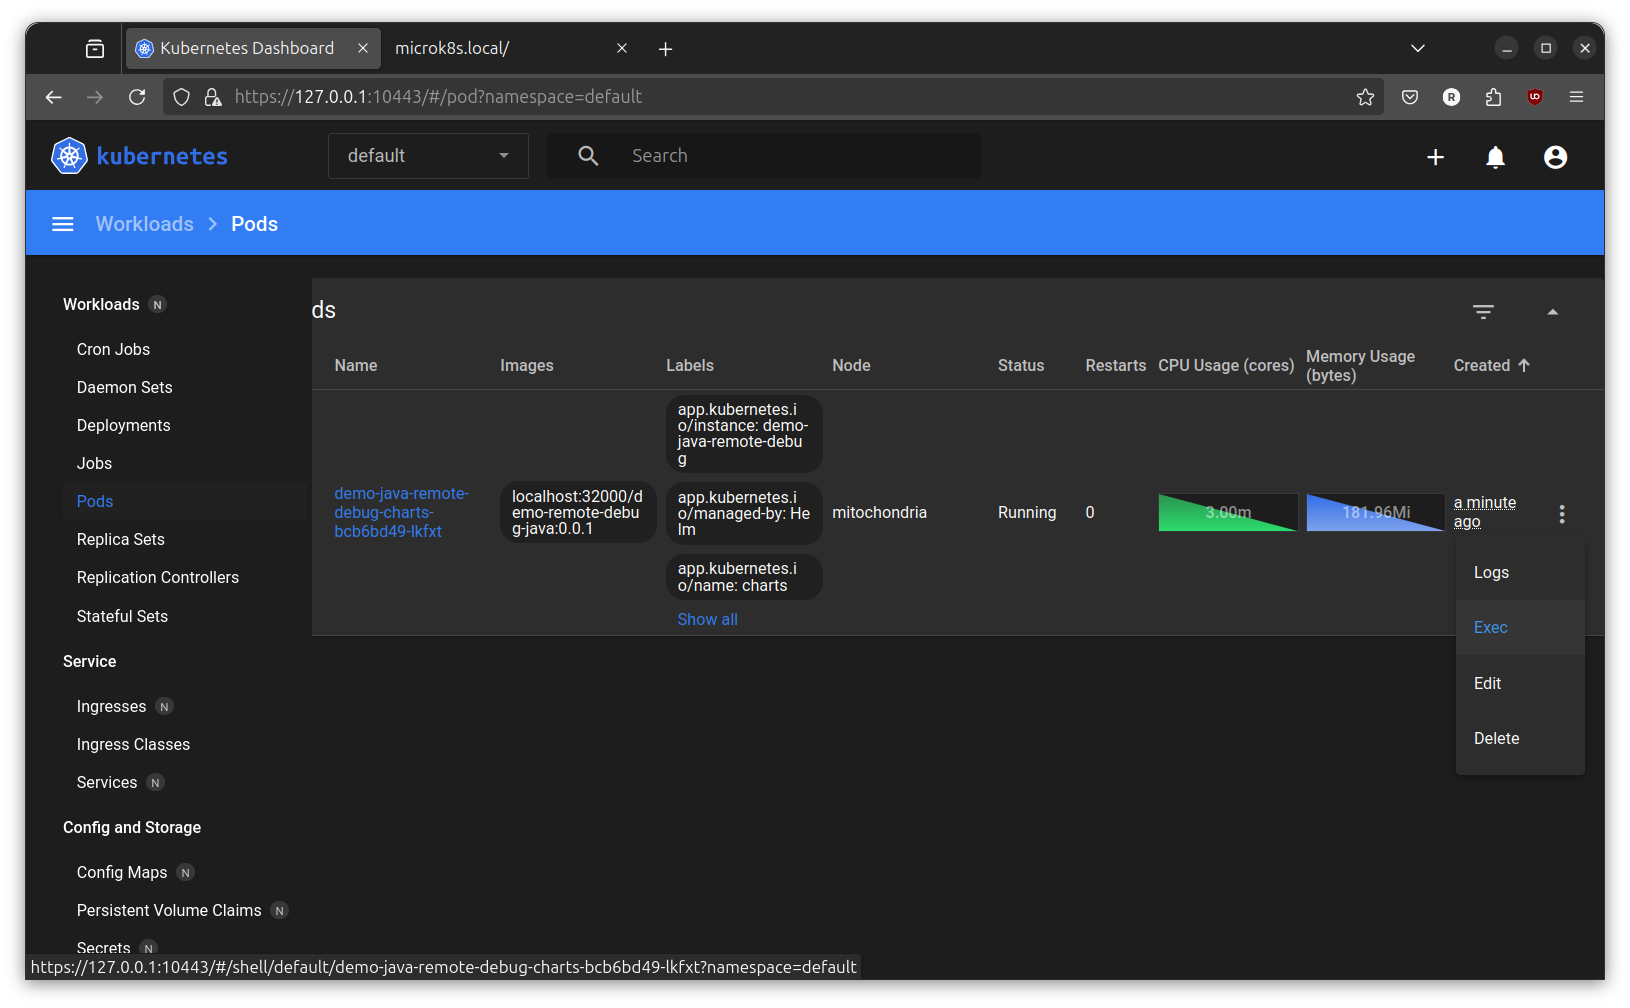
Go to Pods menu and Exec on demo-java-remote-debug-charts-* pod.
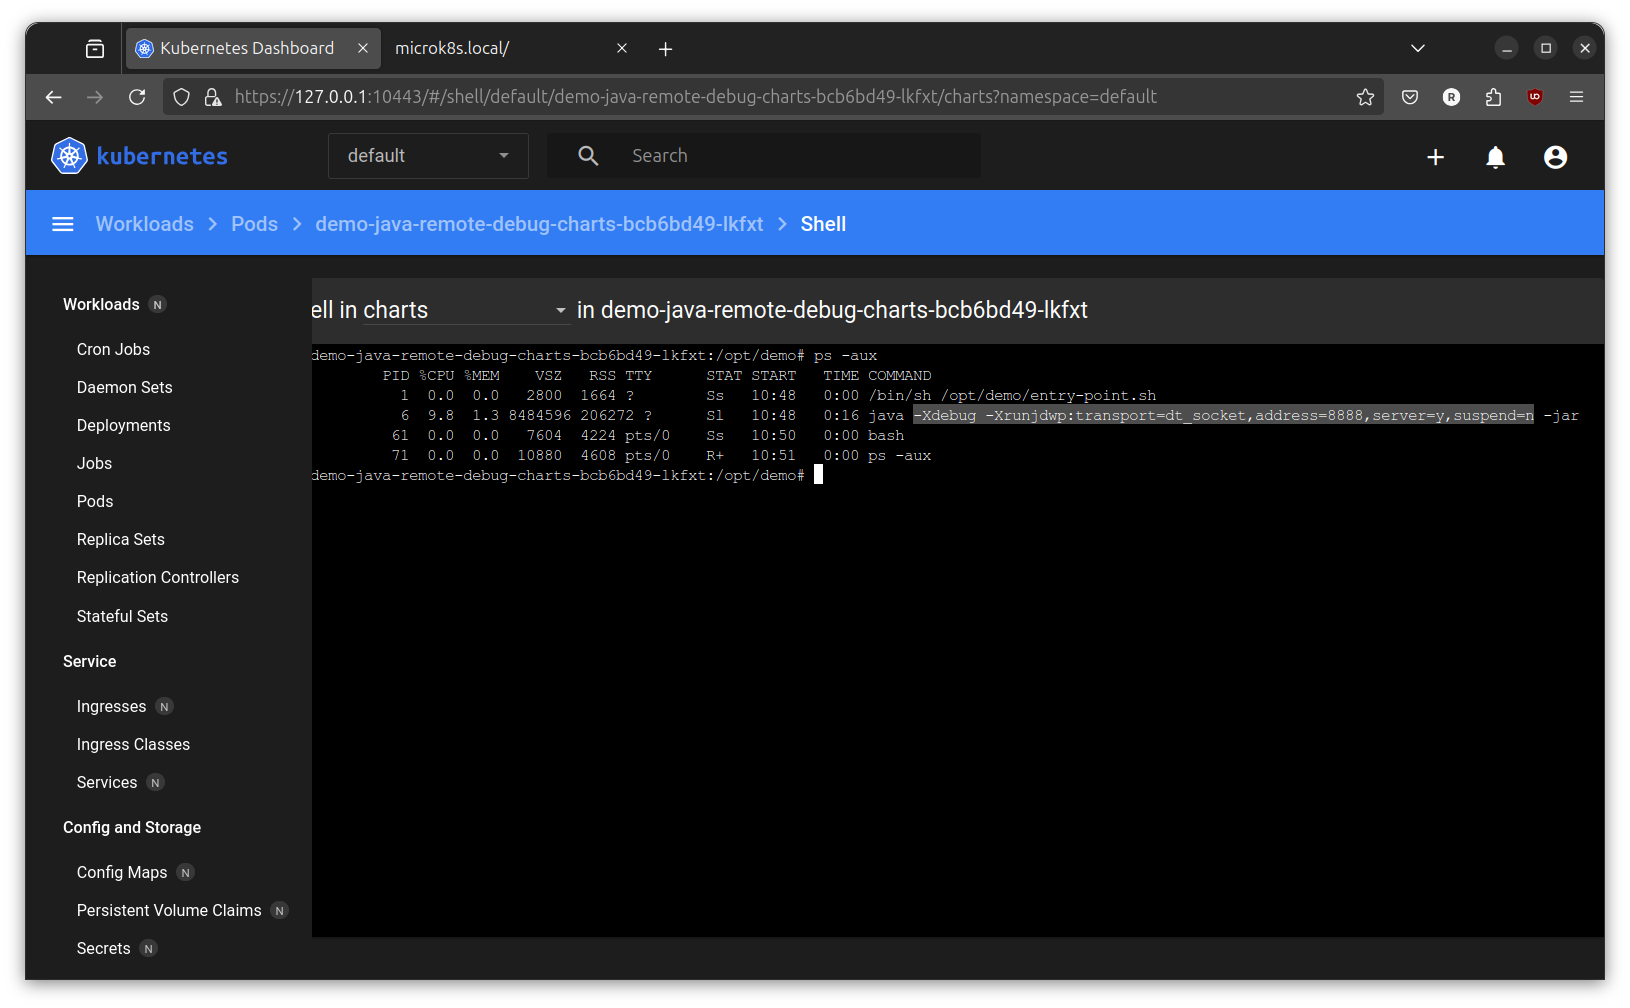
Run ps -aux in the terminal and verify the flag used to run the service. It should be using the debug flag.
Remote Debug with IDE
How to remotely connect the jvm with local IDE? The jvm expose the remote debug at port 8888. I purposely do not expose port 8888 to outside container. Exposing debug feature openly is not good idea, especially in shared environment. Luckily, kubernetes have port-forward feature that can be used in this situation. Port-forward allow forwarding some port in pod(or etc) into local machine with kubectl and the permission (token).
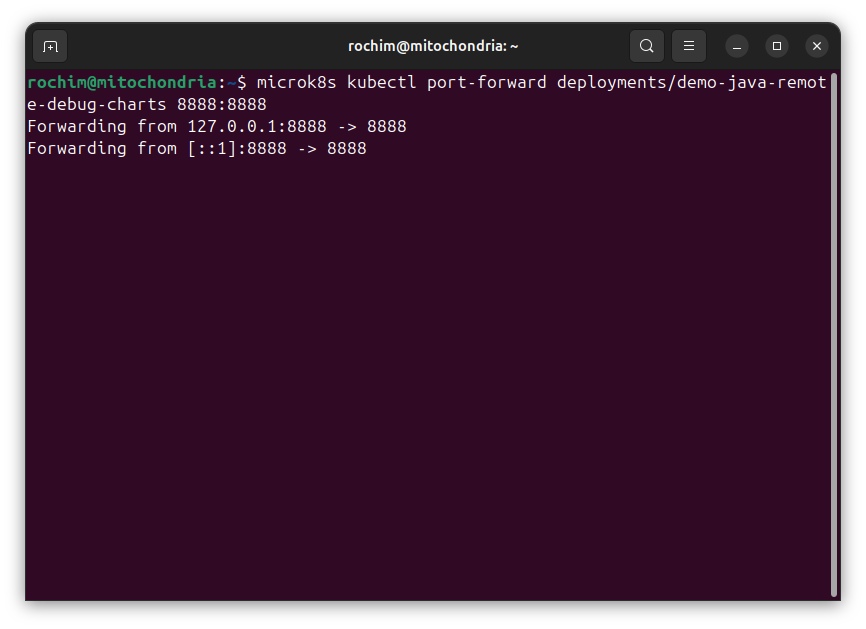
Create port-forwarding of deployment:
microk8s kubectl port-forward deployments/demo-java-remote-debug-charts 8888:8888
Forwarding using pods maybe better if the number of pod inside deployment is not 1.
Open new terminal and test connect with jdb:
sudo apt install -y openjdk-17-jdk-headless # install first
jdb -attach 8888
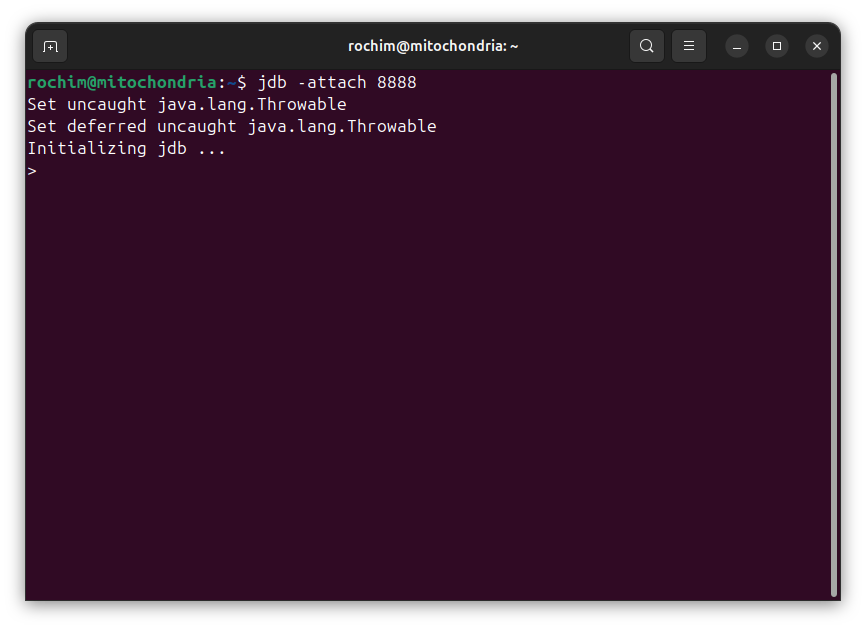
Hit ctrl+d to exit jdb.
Eclipse IDE
In Ubuntu, Eclipse can be installed through snap.
sudo snap install eclipse --classic
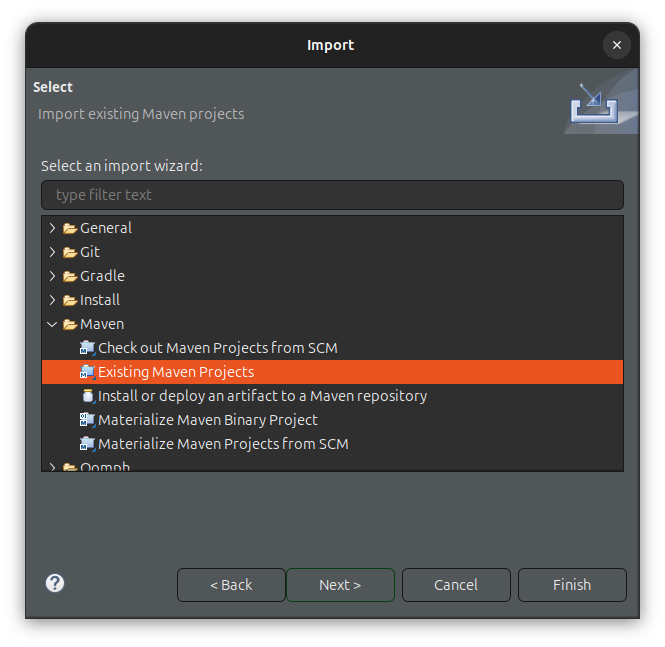
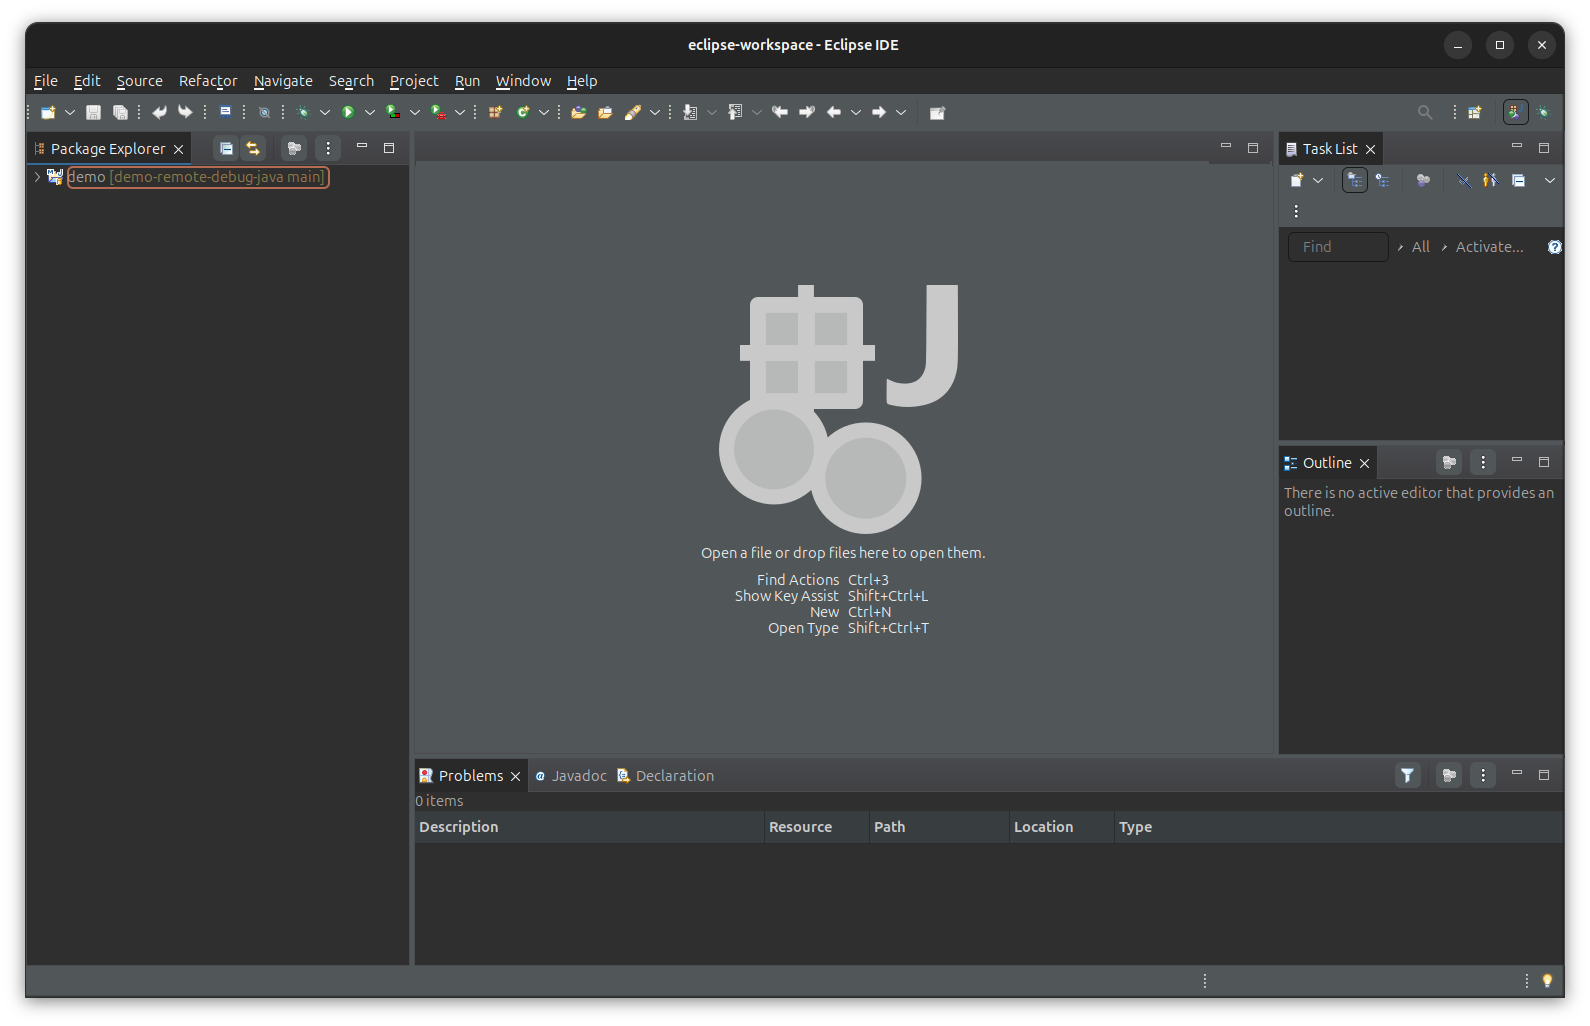
Open Eclipse IDE and import demo-remote-debug-java as Maven project. Click on File > Import and follow the wizard.

Click on Run > Debug Configurations…
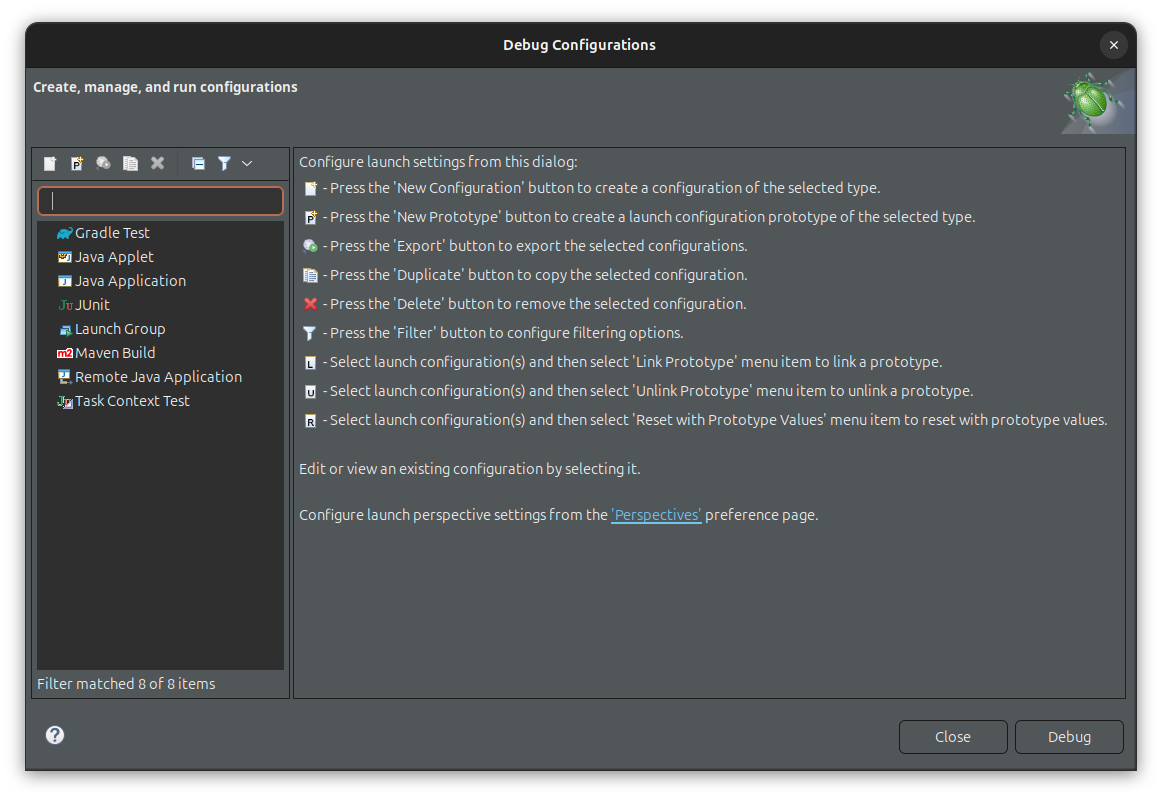
Double click on Remote Java Application. Fill name with anything representable. On Project field, pick demo project. Change port to 8888. Click Debug.
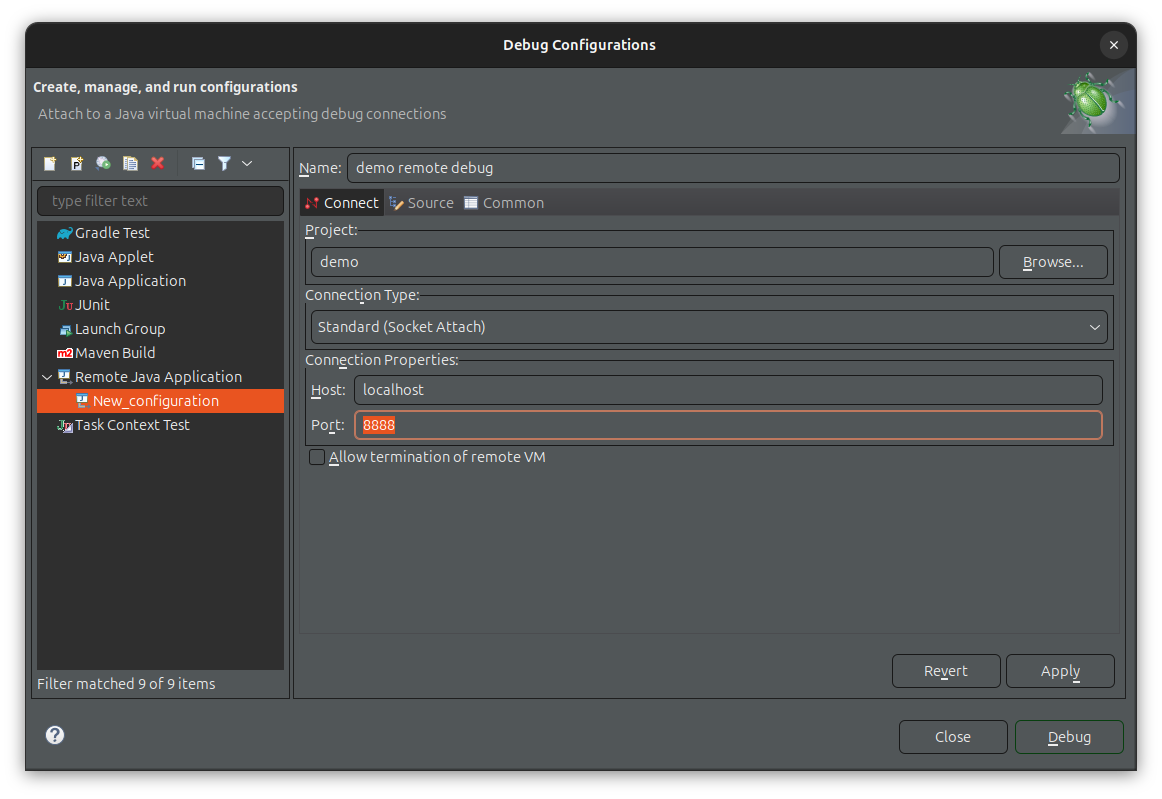
The IDE should be connnected to remote jvm.
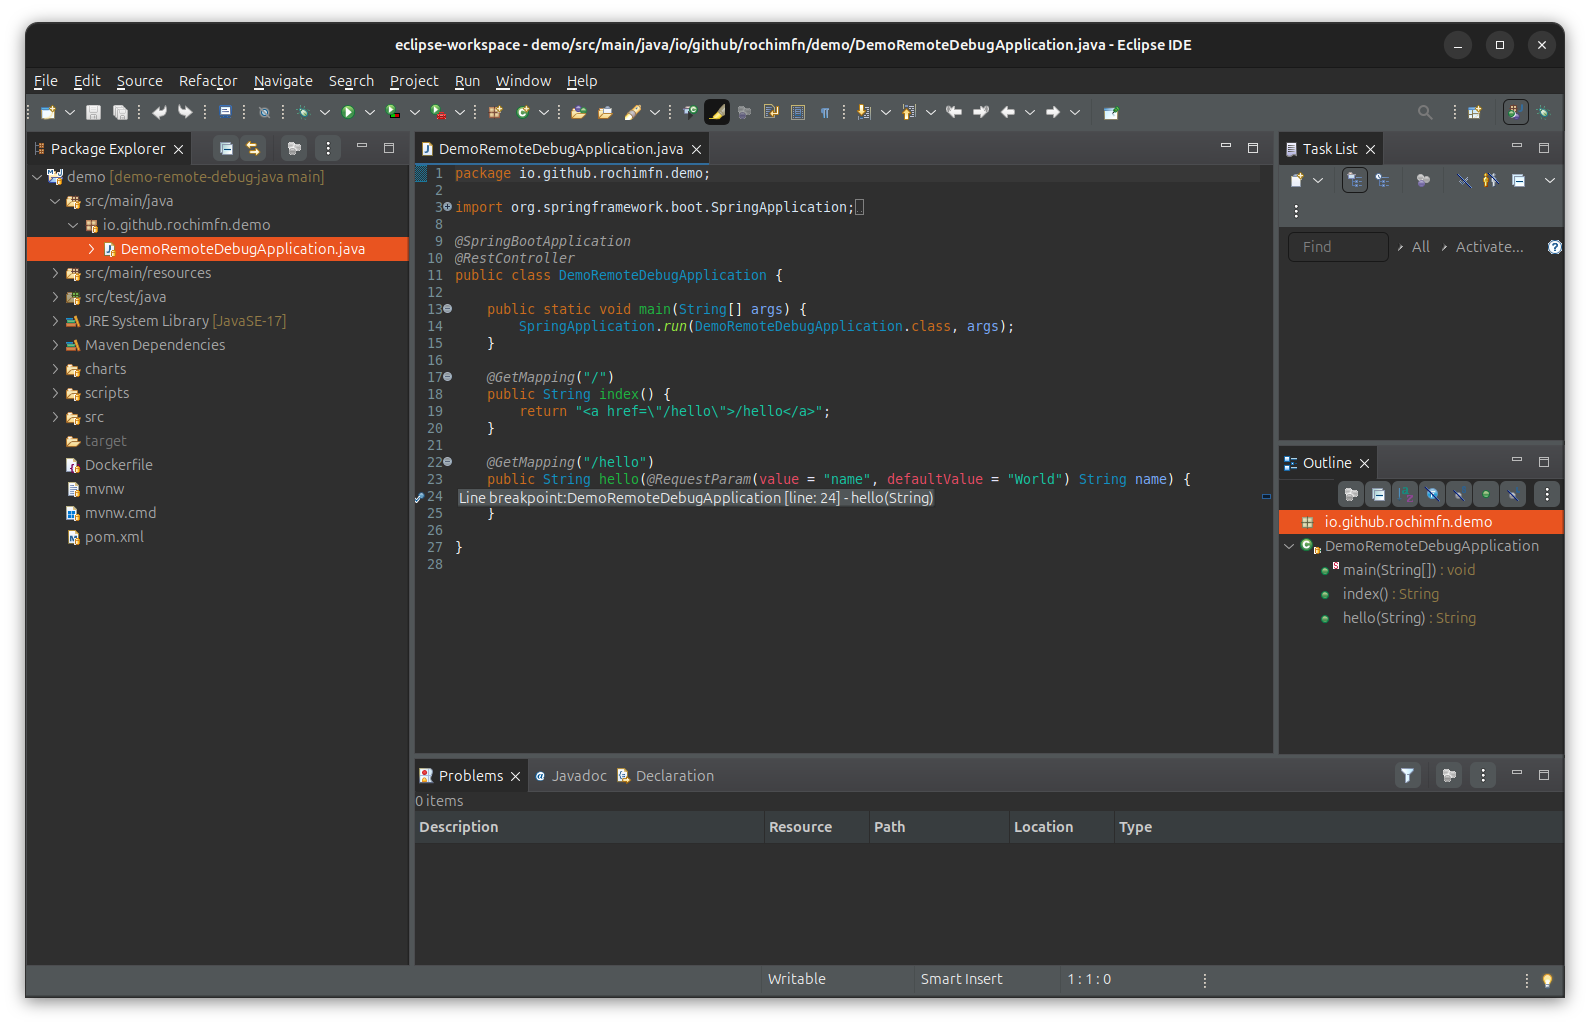
Try to set breakpoint inside hello function.
Trigger the break point by accessing the endpoint. Go to http://microk8s.local/hello?name=test. Eclipse will catch the breakpoint and offer to switch perspective.
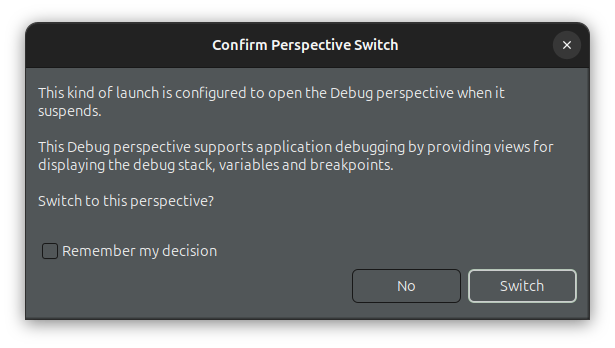
Choose Switch to change the Debug perspective.

Done.
Thank you and see you later.