Red Hat Enterprise Linux VM on LXD
A few days ago, I took the Fundamentals of Red Hat Enterprise Linux 9 course on Coursera. Naturally, I need to get access to the RHEL 9 environment. Since I already have LXD (and multipass) installed, I choose to install RHEL as a virtual machine on LXD. If you want to follow along, you’ll need LXD prepared and a RHEL 9 installation image (I use the DVD image). RHEL provides no-cost access to RHEL 9 for individual developers, so don’t worry about the cost and download the installation image directly from the Redhat website. Let’s get started.
First, you will need to install the virt-viewer package.
sudo apt update && sudo apt install virt-viewer
The virt-viewer is necessary to access the gui console of the vm. Next, create an empty vm.
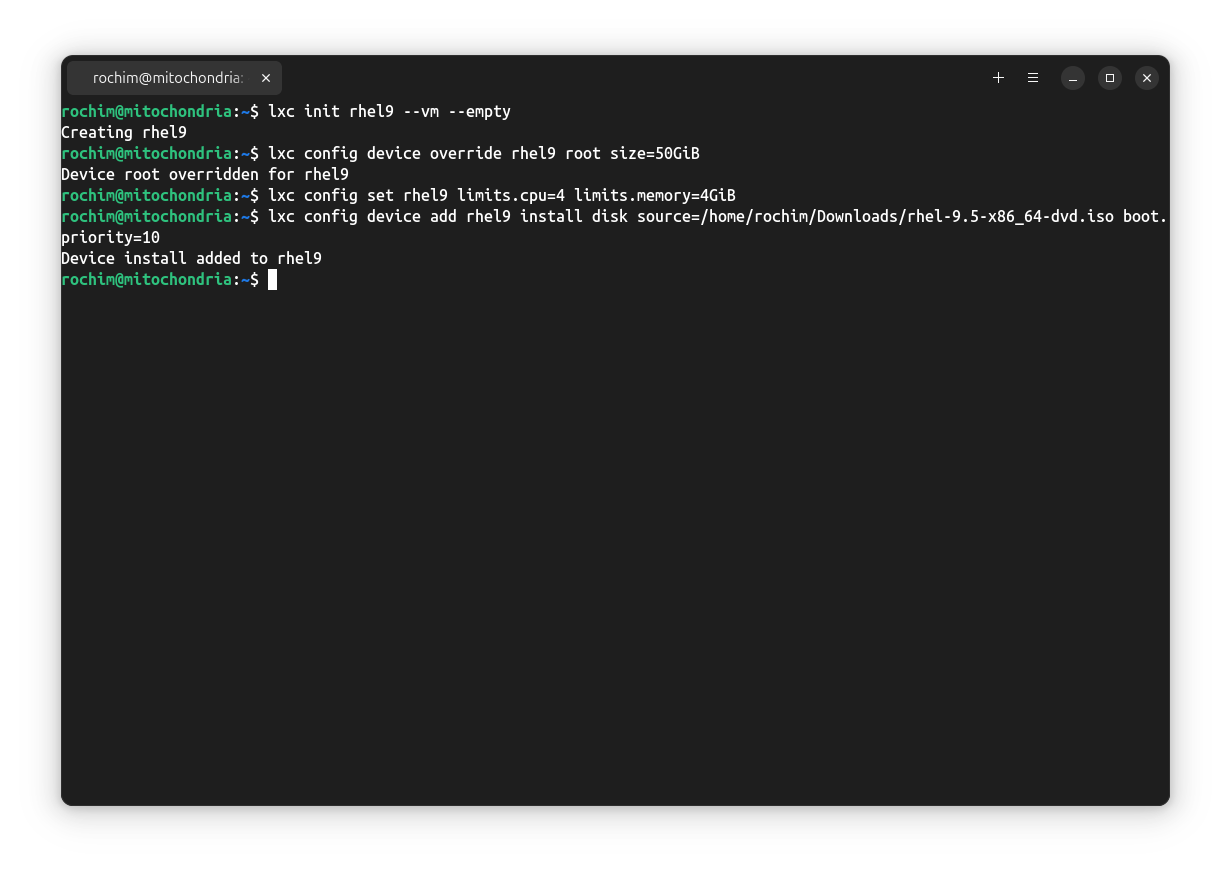
lxc init rhel9 --vm --empty
Create a disk for the root partition of the vm. Here I give it 50G.
lxc config device override rhel9 root size=50GiB
Next, set the size for CPU and memory. Here I give it 4 cores of cpu and 4G of memory.
lxc config set rhel9 limits.cpu=4 limits.memory=4GiB
Next is adding installation media. I store my installation media at /home/rochim/Downloads/rhel-9.5-x86_64-dvd.iso.
lxc config device add rhel9 install disk source=/home/rochim/Downloads/rhel-9.5-x86_64-dvd.iso boot.priority=10
Now we can launch the vm to start the installation process.
lxc start rhel9 --console=vga
LXD will launch the vm and create a new window showing the boot process.
If you accidentally (or purposefully) close the ui window, you can use
lxc console rhel9 --type=vgacommand to launch it again.
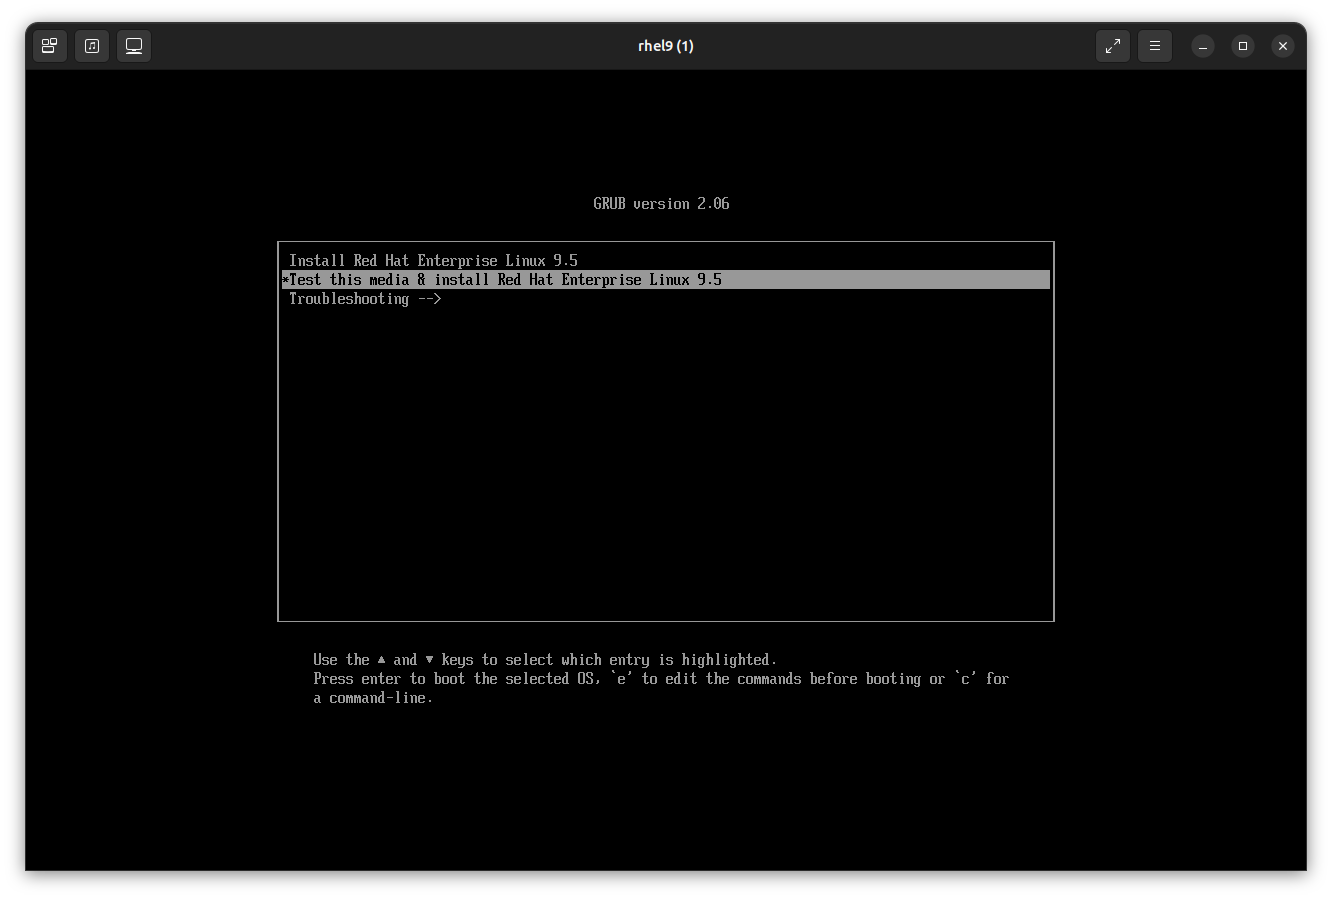
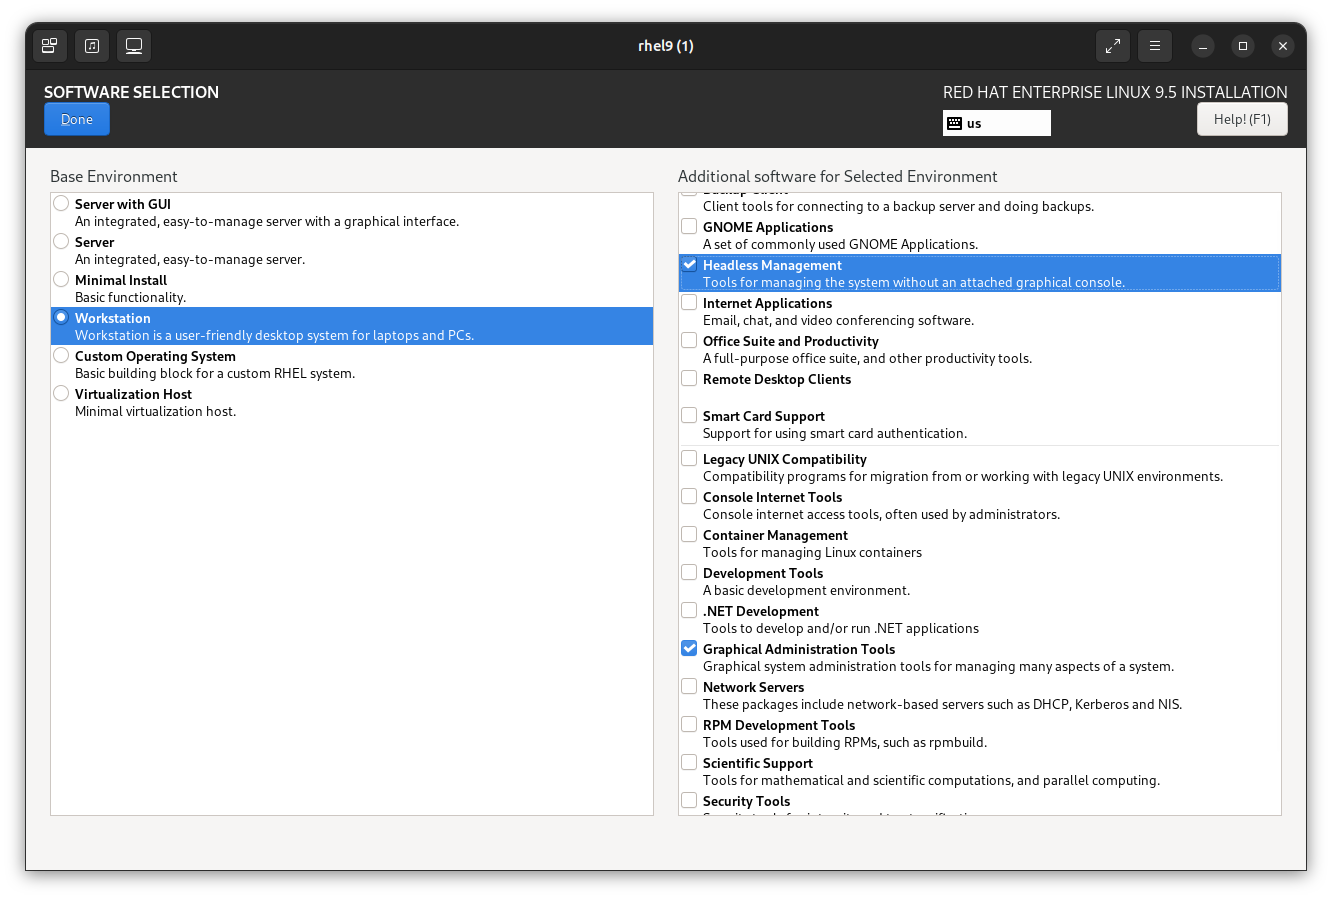
Choose Install Red Hat Enterprise Linux 9.x on grub and wait until the anaconda installer shows up.
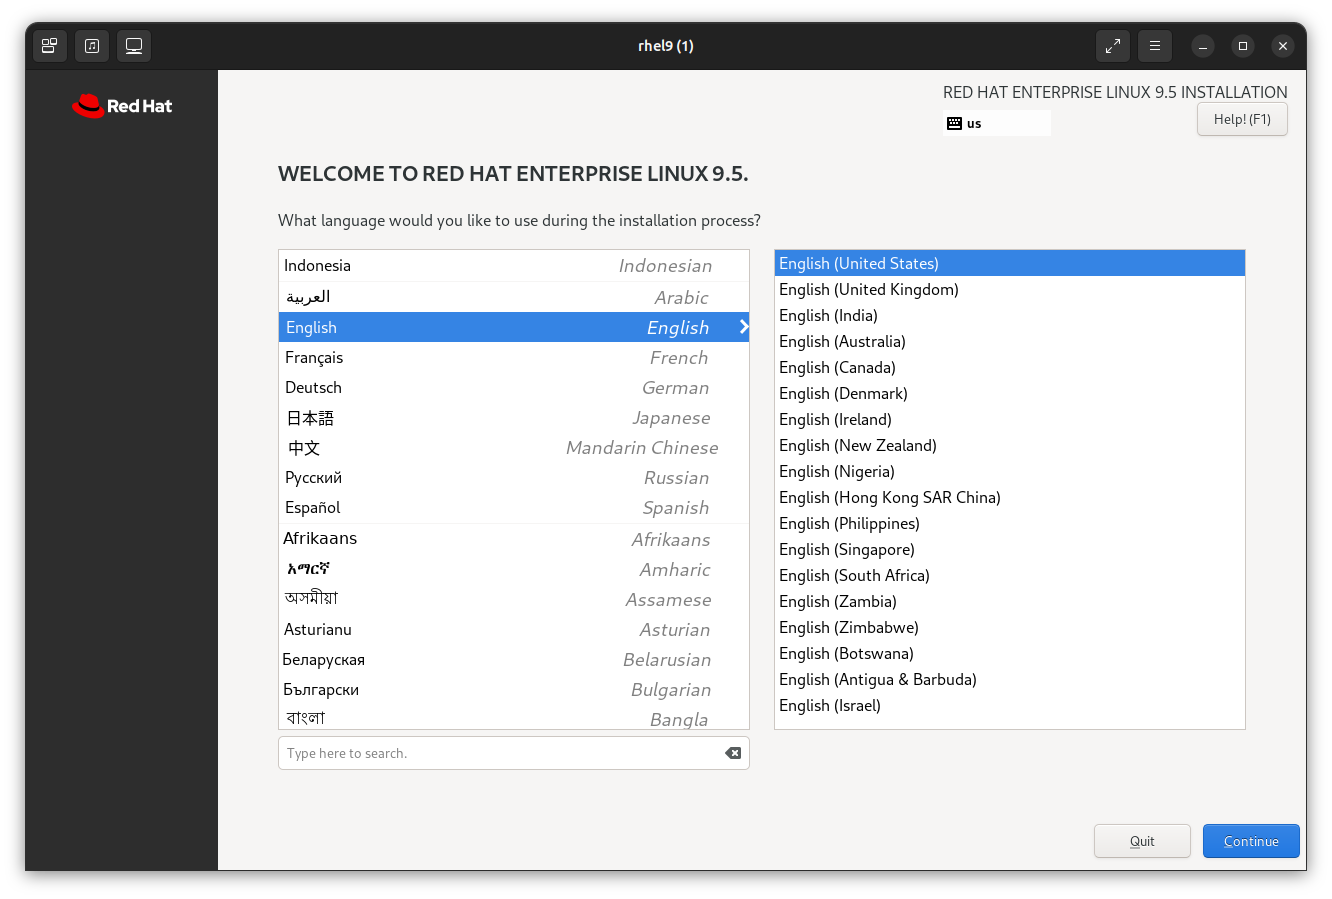
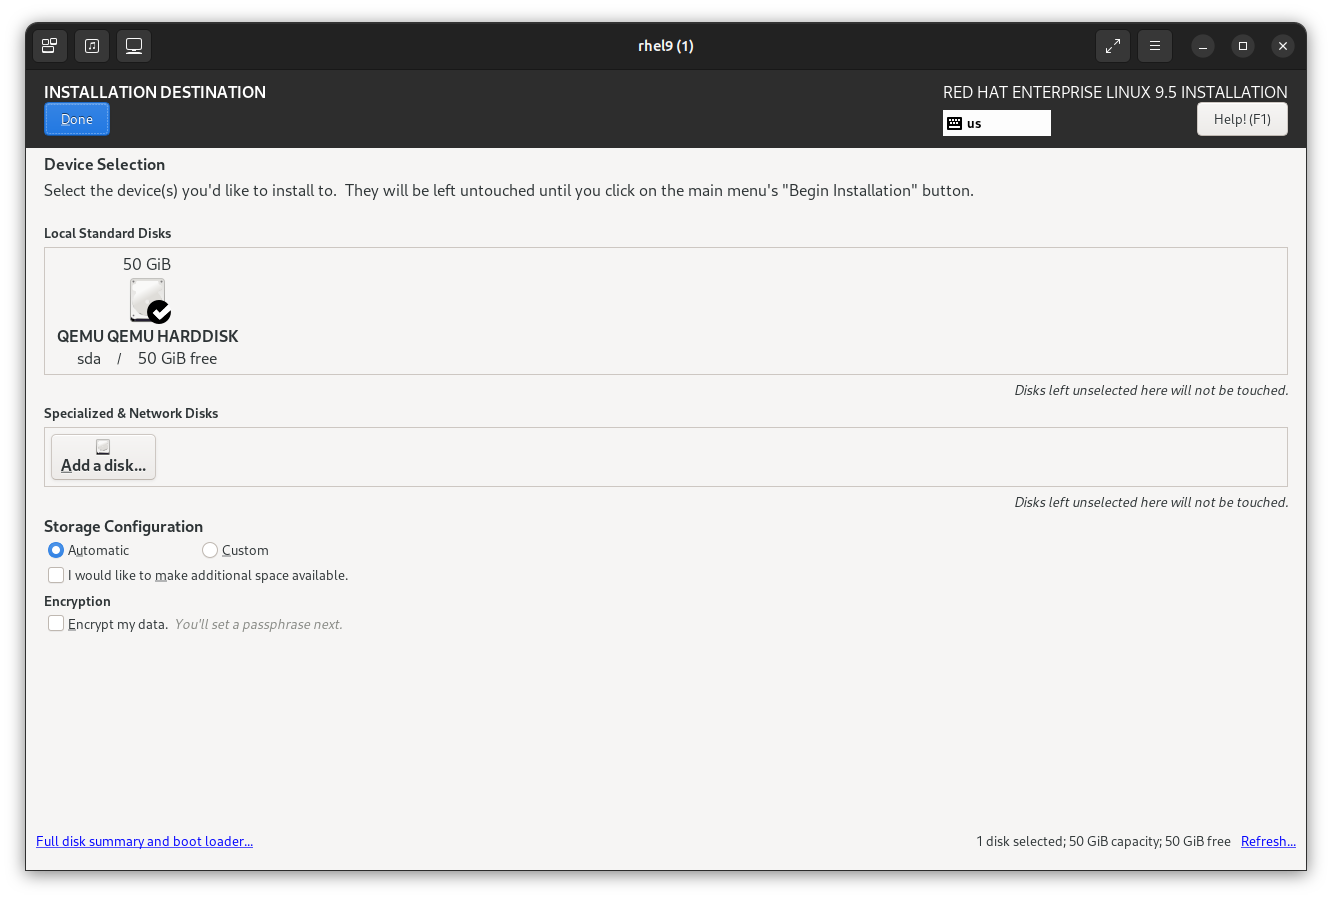
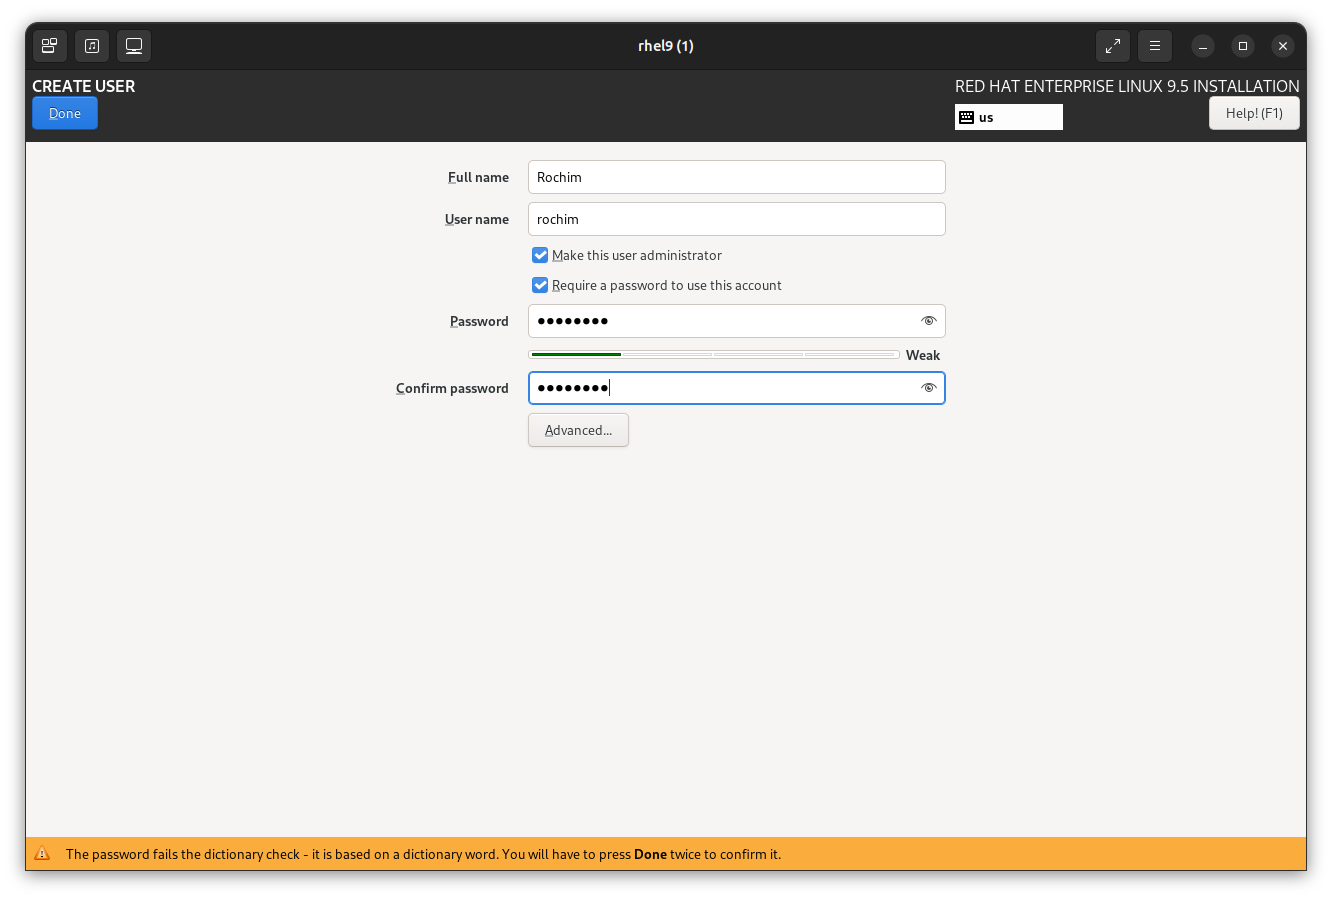
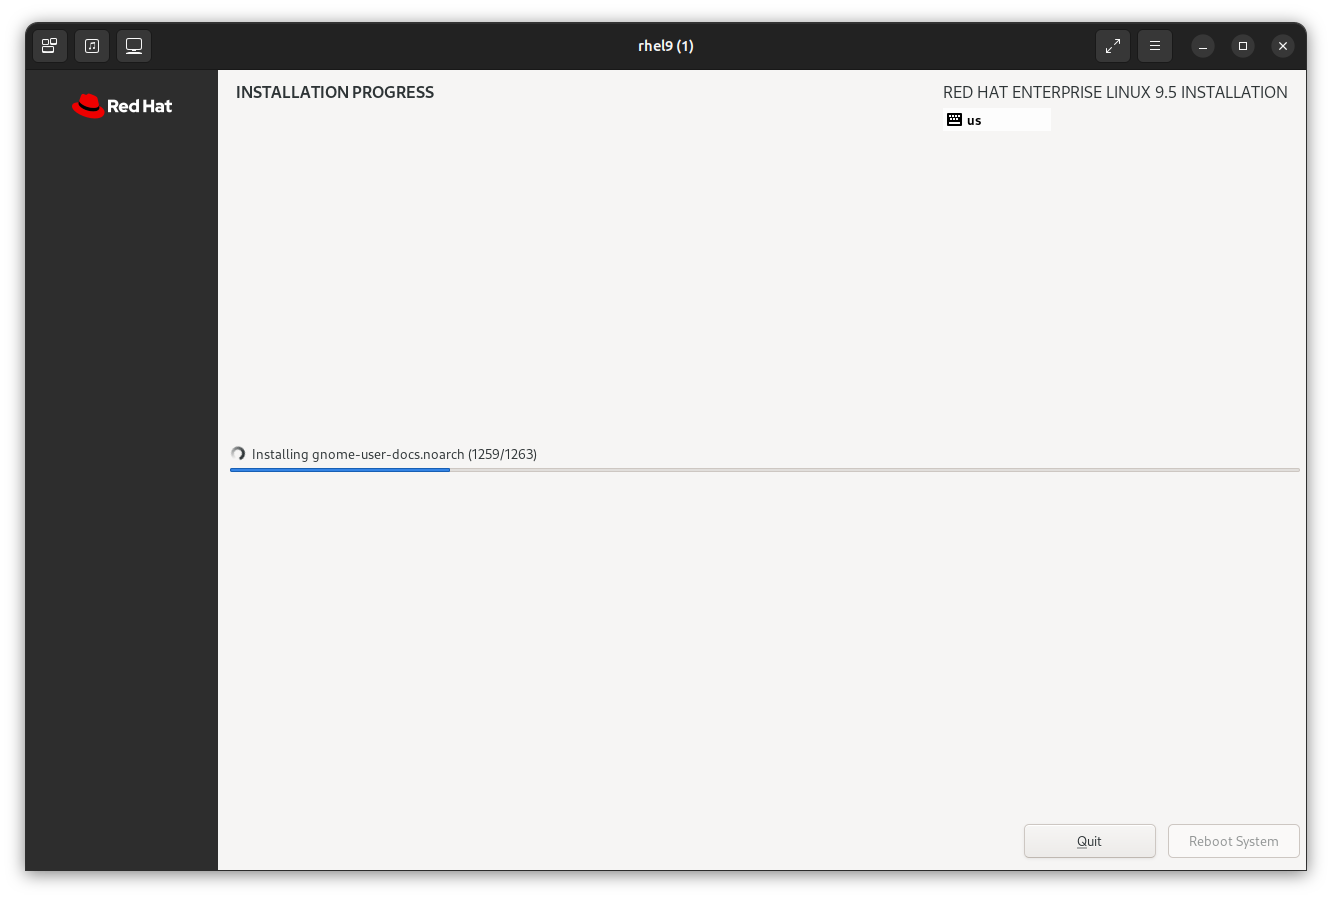
Continue the installation process just like installing Fedora OS.
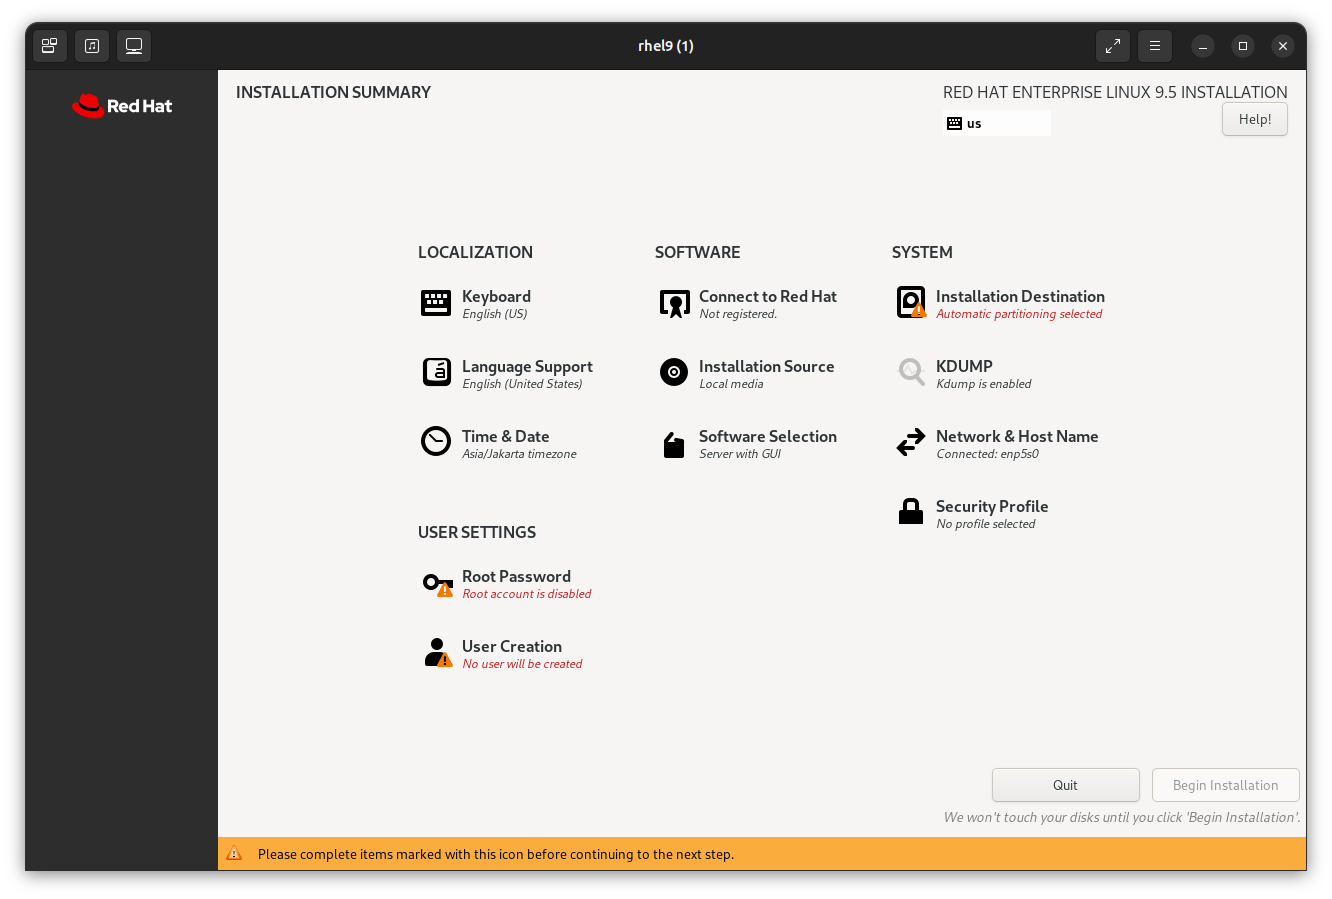
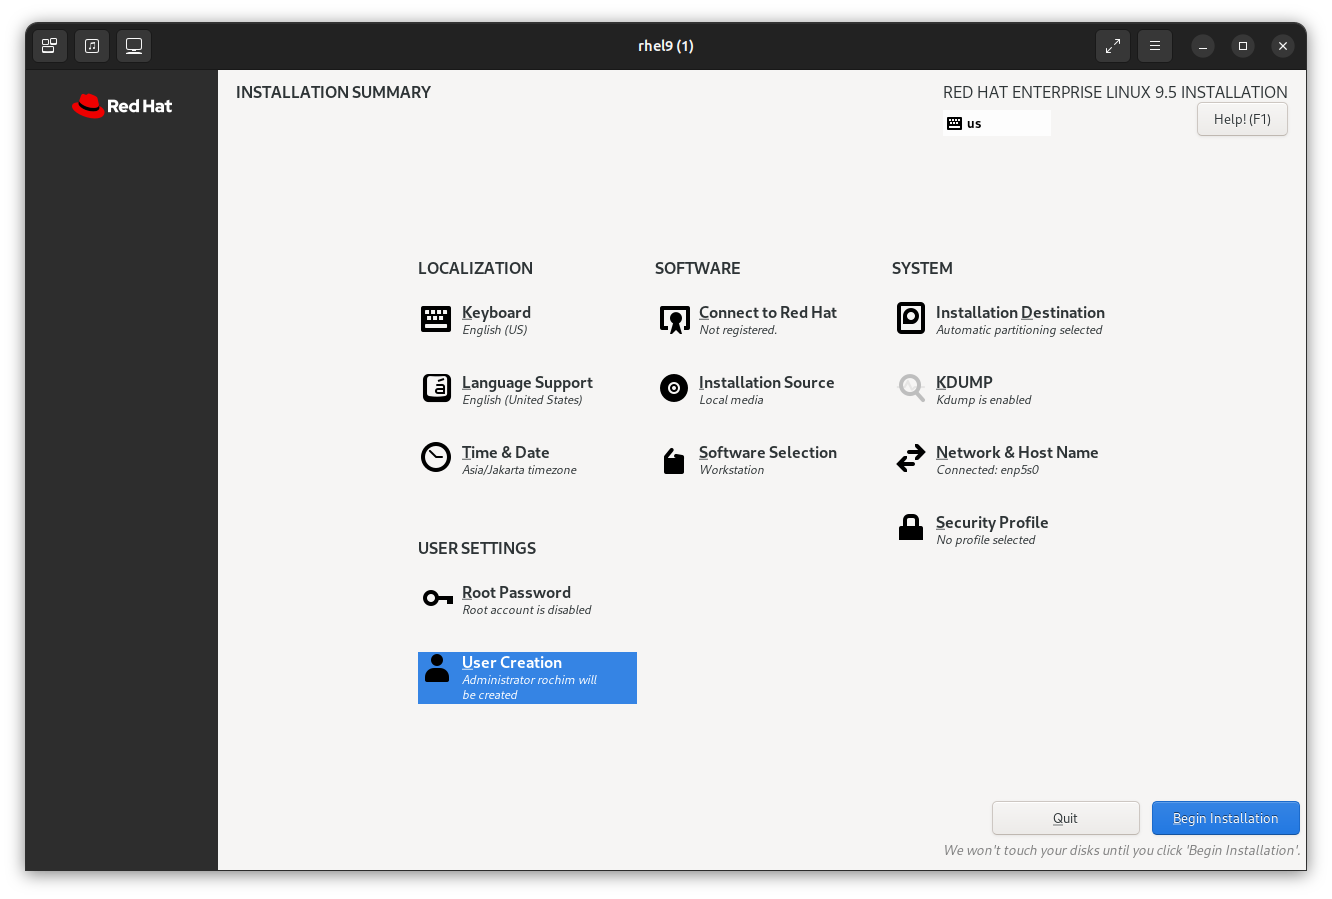
Begin Installation.
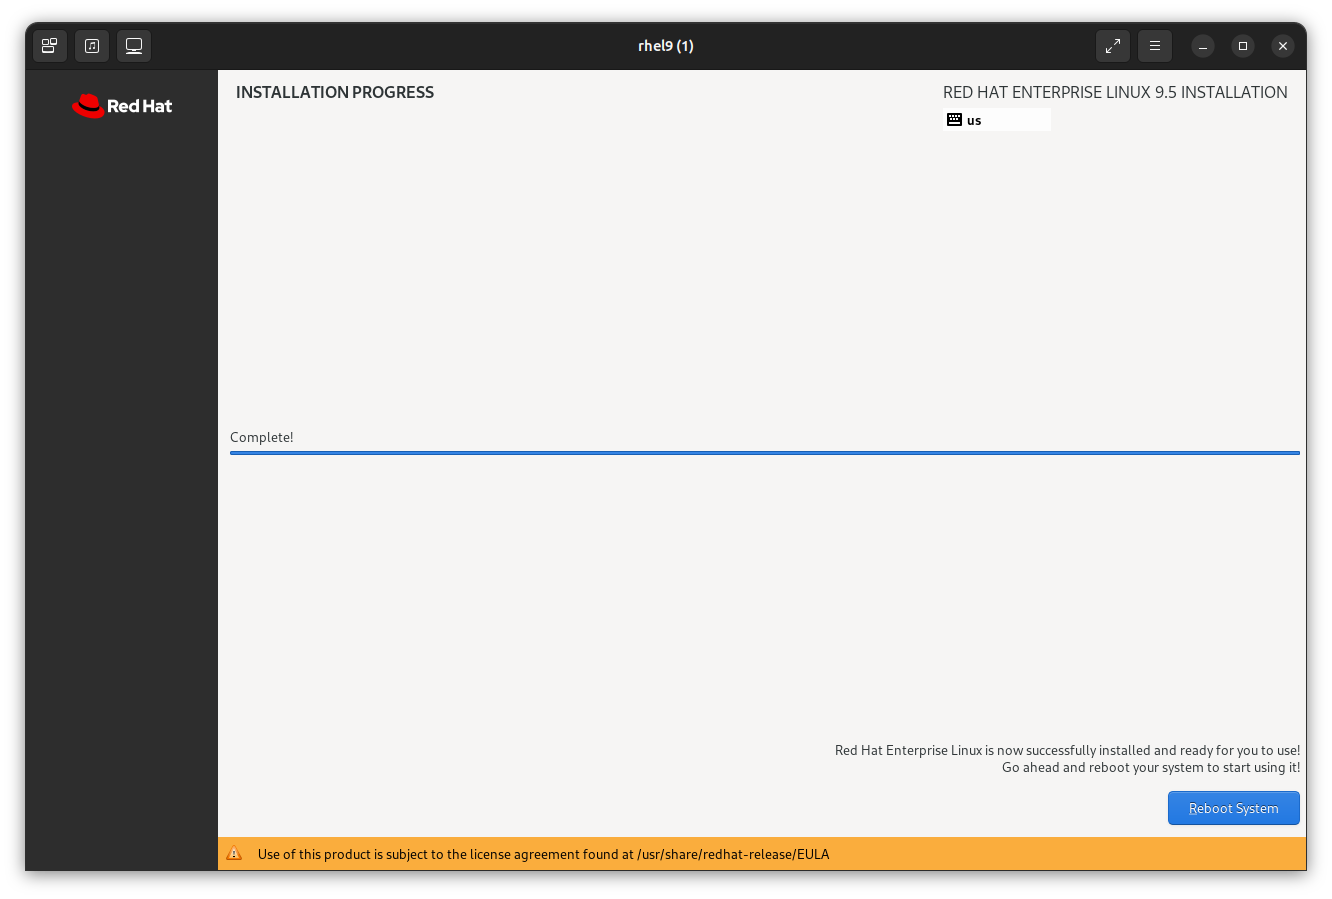
Click on the Reboot System button and the ui window will automatically close. Don’t worry, you can launch the ui window again with the below command.
lxc console rhel9 --type=vga
The problem is, the vm is booting the installation media again (at least on mine). I have to stop the vm and remove the installation media from it.
lxc stop rhel9
lxc config device remove rhel9 install
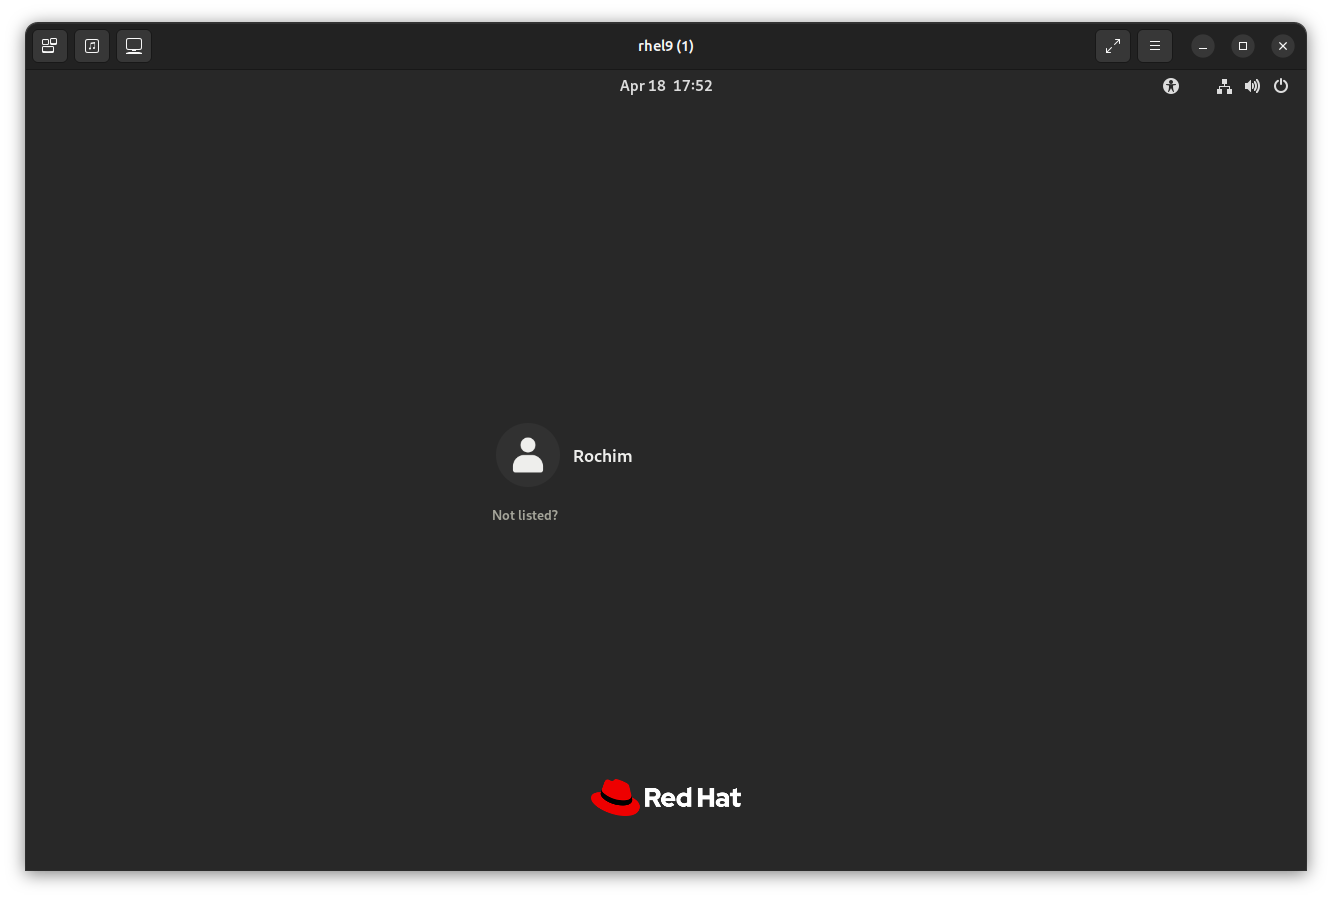
After that, I can launch the vm and it will boot the root disk.
lxc start rhel9 --console=vga
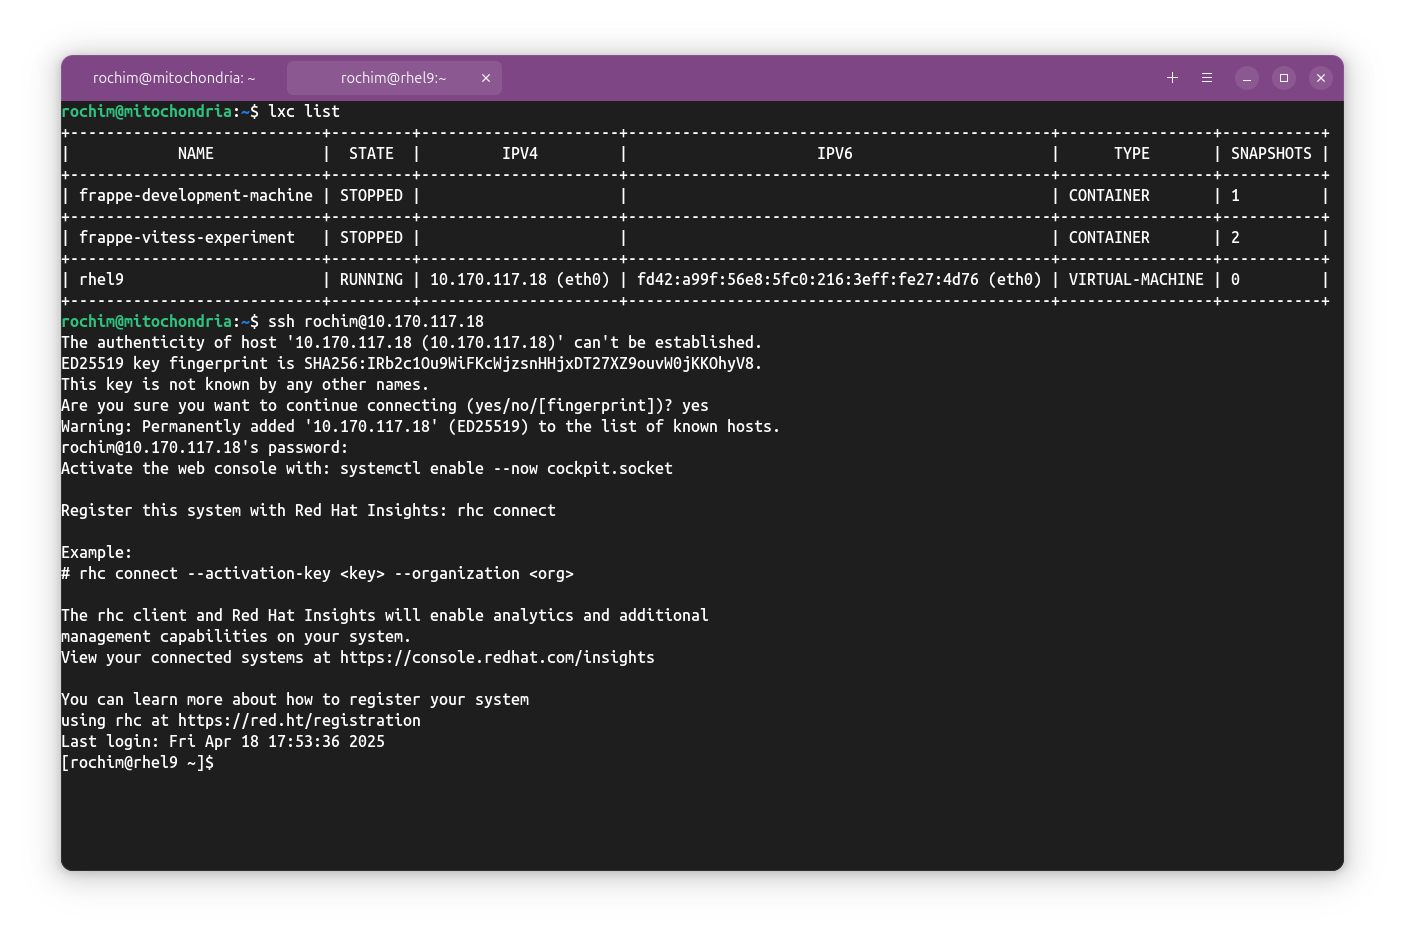
You can also access the vm through ssh. Get the ip from the lxc list output and ssh directly into it.
lxc list
ssh user@ip
Now you can register the subscription for your installation and you’re good to go. Thank you and see you later.
Credit:
- @stgraber for the excellent video Windows 11 VM on LXD